
Last updated November 2, 2026
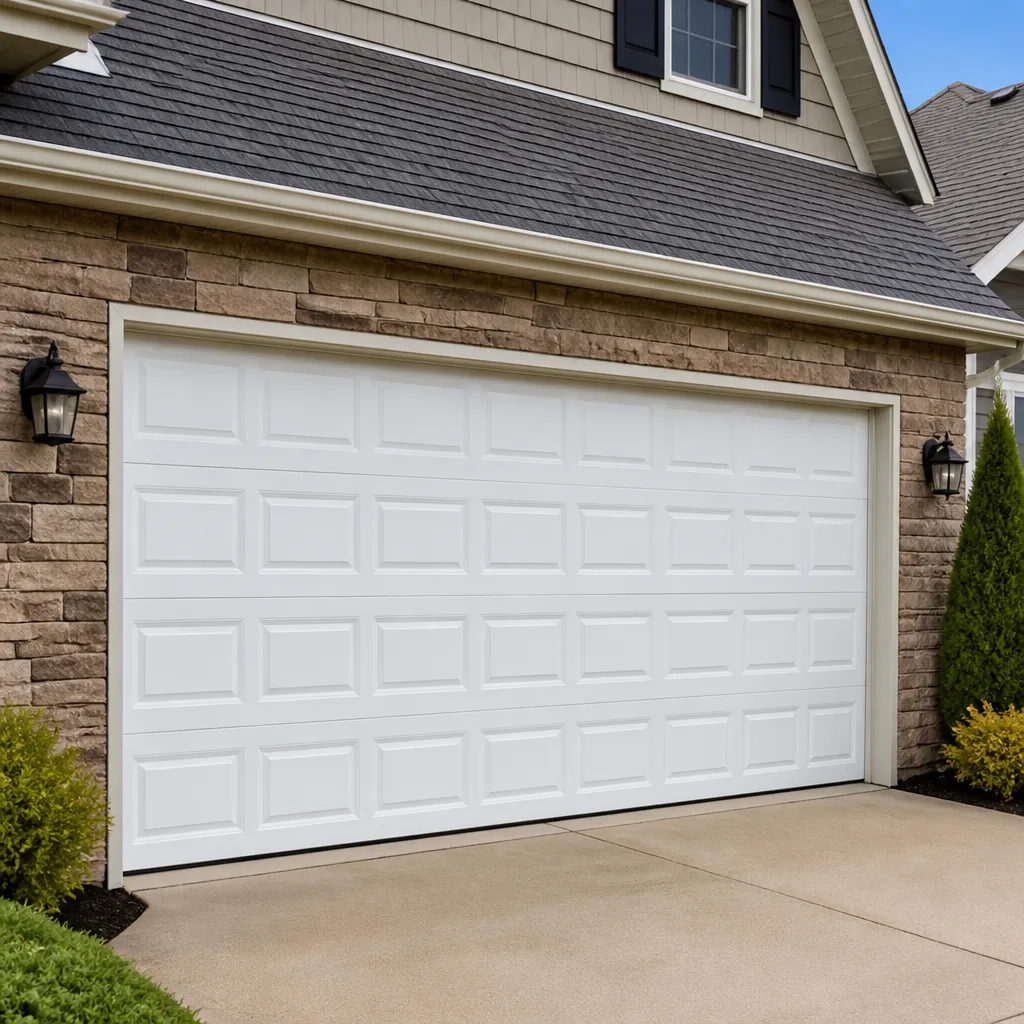 Raised-panel steel
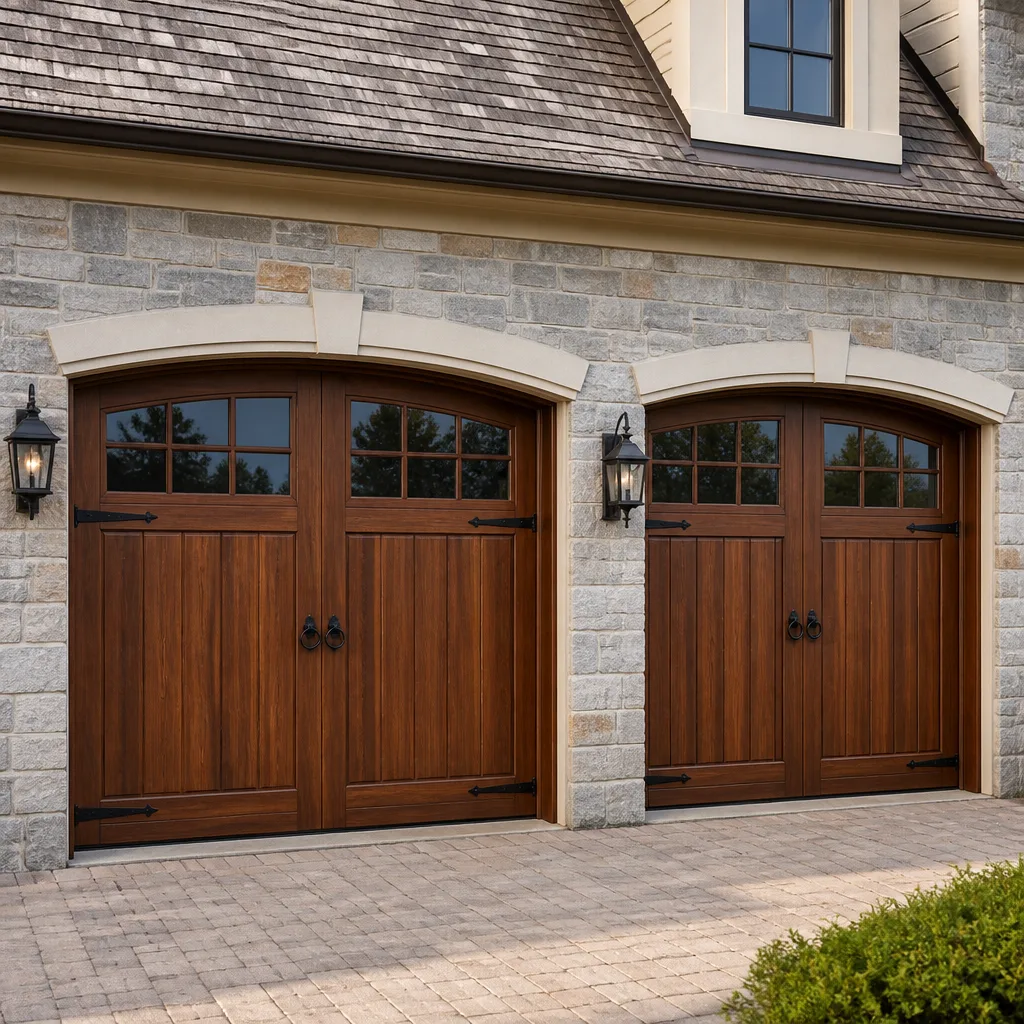 Carriage house
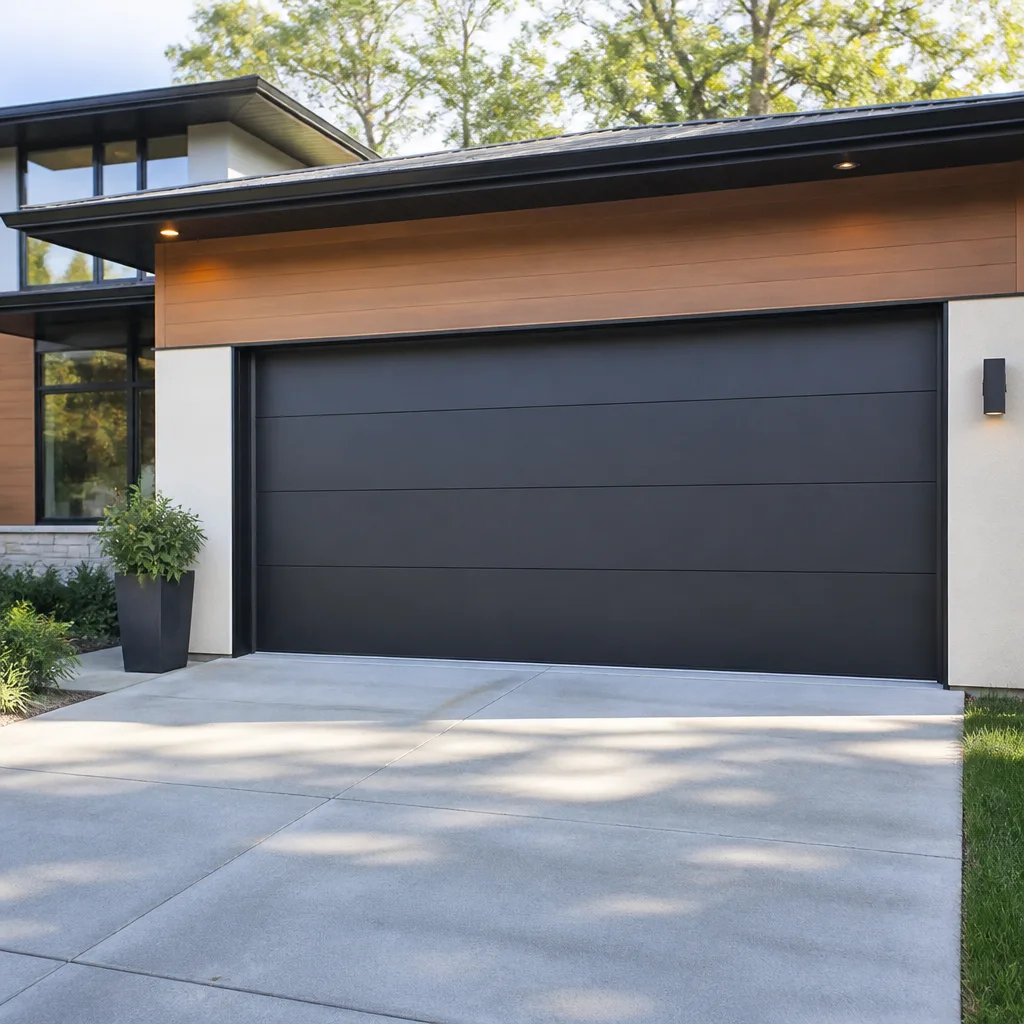 Modern flush
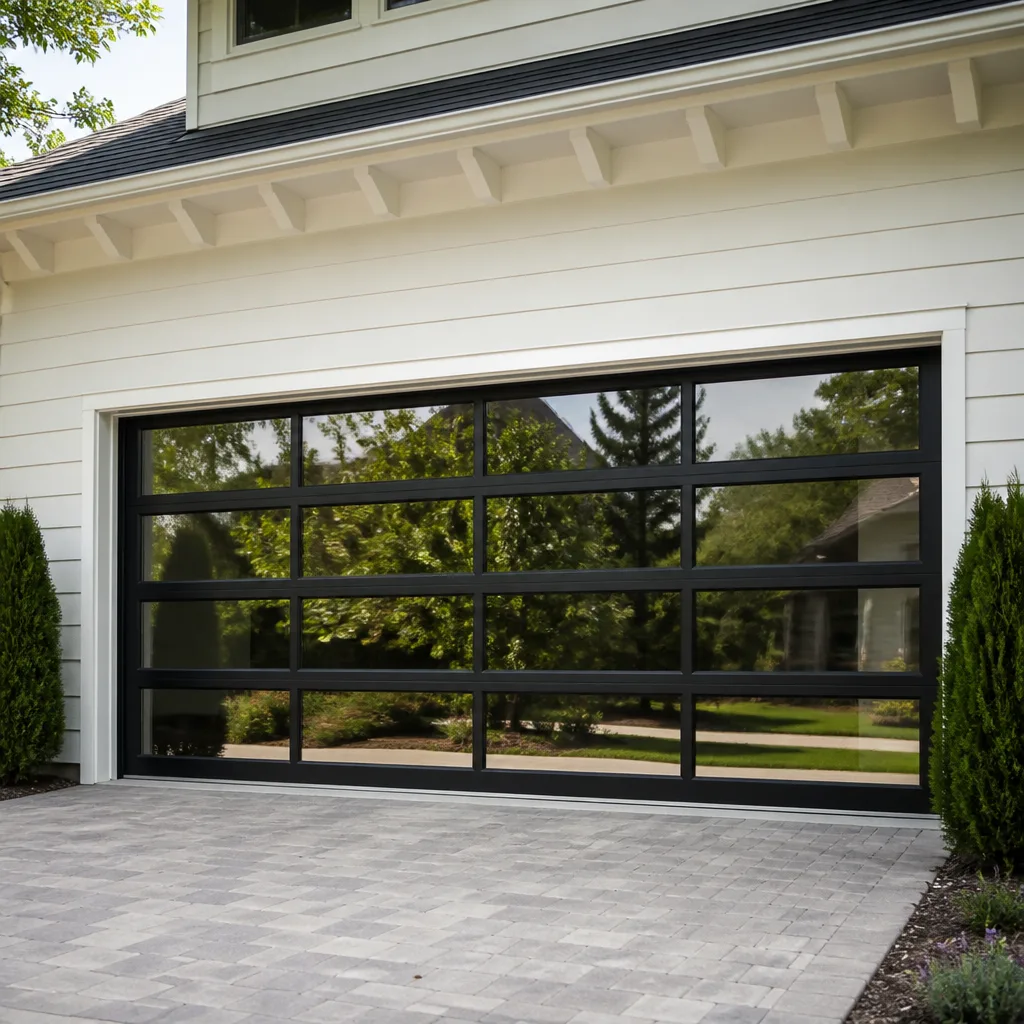 Full-view glass
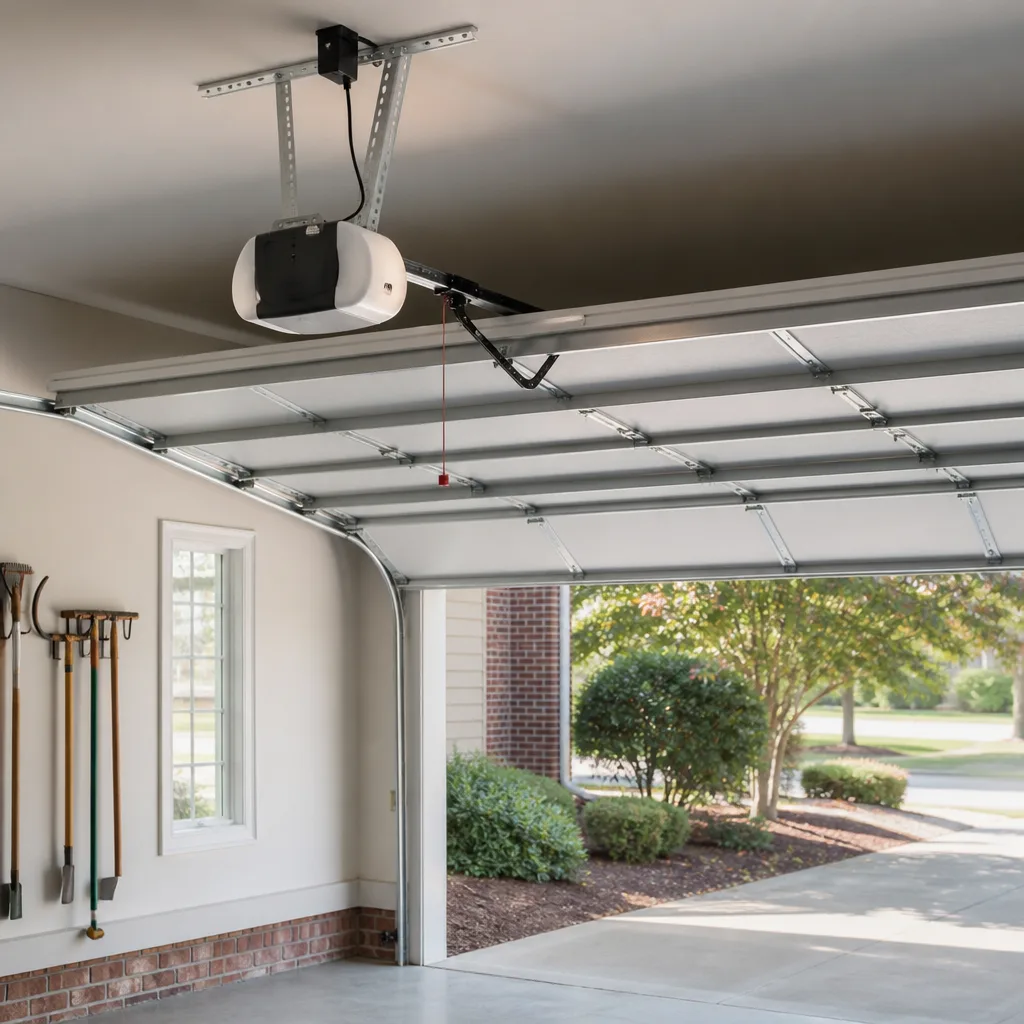 LiftMaster openers
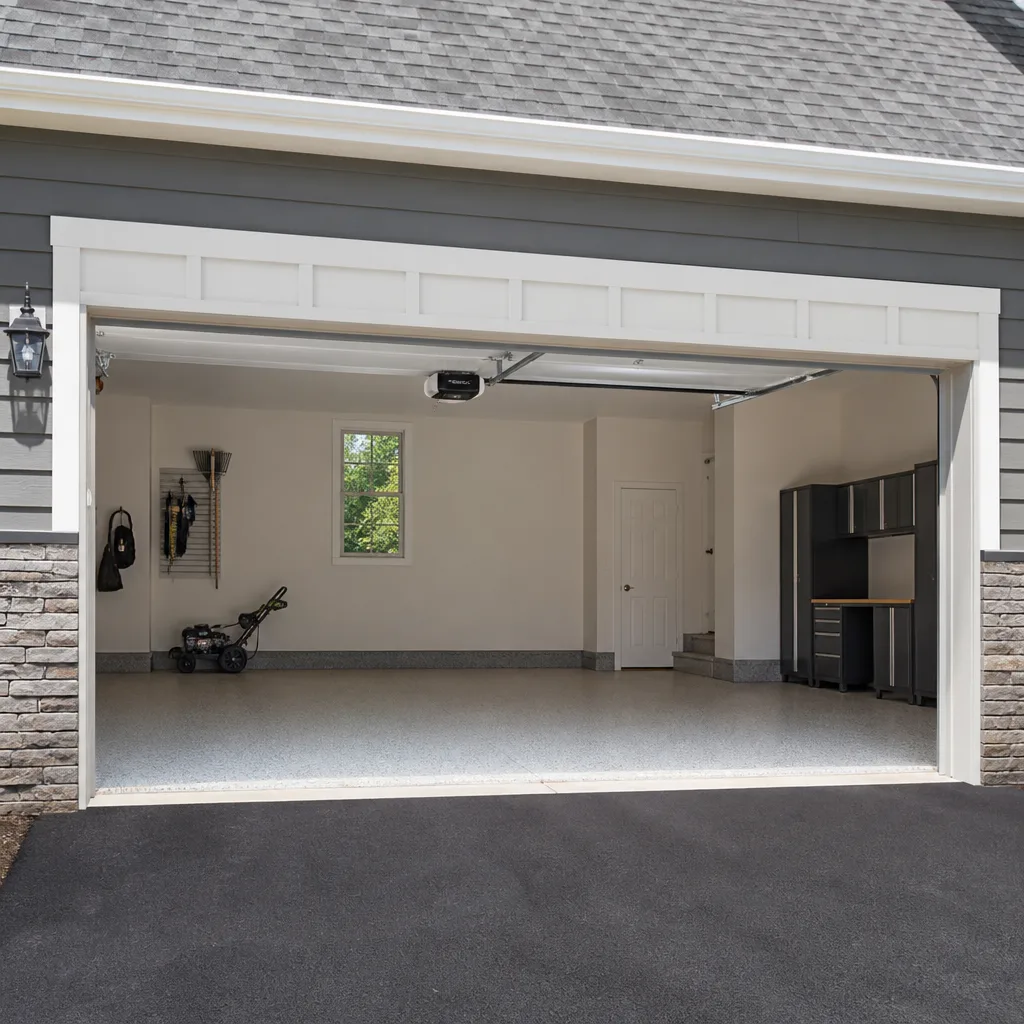 Chamberlain openers
Full 25-point door and opener safety check with every visit - springs, cables, rollers, tracks, and your LiftMaster or Chamberlain opener included
You get a price before we start. It does not change when the truck arrives.
Get your free estimateDIY vs Professional Garage Door: The Eastvale Homeowner’s Decision Guide
Here’s a fact most guides won’t lead with: a torsion spring under full tension can release roughly the same kinetic energy as a bowling ball dropped from a second-story window. That doesn’t mean you should never touch your garage door. It means you need to know which ten square inches of that door are the dangerous ones, and which parts are no more threatening than a squeaky hinge. We’ve repaired thousands of doors across Eastvale, from the newer subdivisions off Hamner Avenue to the homes tucked back behind Eastvale Community Park, and we’ve built this guide to draw the line exactly where it belongs: not at “call a pro for everything,” but at the three specific tasks where the physics are unforgiving and the rest where a careful homeowner can genuinely handle it.
By the time you finish reading, you’ll know exactly which jobs you can knock out on a Saturday morning, which ones require a trained technician, and how California’s licensing rules apply to both. For Garage Door Permits, Codes & Inspections in CA: What You Need to Know, see our dedicated breakdown. No hedging, no scare tactics, just the line.
Quick Answer
Roughly 80% of common garage door maintenance tasks, like lubrication, weatherstripping replacement, sensor alignment, and remote programming, are safe for a competent DIYer in Eastvale. The remaining 20%, specifically torsion spring replacement, cable work, and header bracket repairs, carry serious injury risk and require professional service because the components remain under extreme tension even when the door is fully open. For those jobs, call (833) 593-6405, not because a tutorial can’t show you how, but because the cost of a mistake is permanent.
Styles & brands we work with
- Raised-panel steel
- Carriage house
- Modern flush
- Full-view glass
- LiftMaster openers
- Chamberlain openers
Table of Contents
- The Real Line Between DIY and Pro Work
- The DIY-Safe List: Four Jobs You Can Handle This Weekend
- The Never-DIY List: Three Jobs That Send People to the ER
- Why Torsion Springs Are Different: The Physics in Plain English
- California Contractor Law and Your Garage Door: What Actually Applies
- The True Cost of DIY: Tools, Parts, and the Callback Factor
- The Middle Path: Homeowner-Assisted Service Calls
- Does Brand Matter for DIY Work? What Eastvale Homeowners Actually Own
The Real Line Between DIY and Pro Work
Most of the confusion around garage door repair comes from treating the door as one machine. It isn’t. It’s four systems bolted together: the panels, the springs and cables that counterbalance the weight, the track system that guides movement, and the opener that supplies motor power. The panels and tracks are mostly low-risk. The opener is low-risk. The springs and cables are not. Once you see the door as separate systems, the DIY decision becomes simple: you’re asking which system has failed, not whether you’re “handy enough” to fix a garage door.
We’ve walked up to doors in Eastvale where a homeowner has successfully replaced their own weather seal and cleared a photo-eye obstruction, and the door works perfectly. We’ve also responded to calls where someone tried a torsion spring repair with a pair of vice grips and the spring unwound violently, twisting the shaft, tearing the cable drum, and leaving the door wedged halfway down the track. Both people thought they were doing the same category of work: “fixing my garage door.” They weren’t. One was maintaining a wear component. The other was trying to disarm a loaded mechanical device.
Here is the line we use, and it hasn’t changed in two decades: if the component stores mechanical energy, it’s a pro job. If it doesn’t, it’s fair game. Springs store energy. Cables transfer that energy. The header bracket anchors it. Everything else? Panels, hinges, rollers, sensors, remotes, weather seals, and lubrication points? Those are parts you can touch without the risk of sudden, uncontrolled force release.
The DIY-Safe List: Four Jobs You Can Handle This Weekend
These four tasks account for a huge share of the “my garage door is acting up” calls we get in Eastvale, and none of them require specialized tools or exposure to dangerous tension. If you want more guides & resources beyond this list, our blog covers additional maintenance topics. If your problem shows up on this list, you can realistically fix it yourself this afternoon.
1. Lubricating the Door System
A dry garage door sounds terrible and wears out components faster than it should. The fix is simple: apply a spray lubricant designed for garage doors (not WD-40, which is a solvent and will strip existing lubricant) to the rollers, hinges, and the torsion spring itself, which needs a coating to prevent friction between coils. Do this every six months in Eastvale’s dry summer heat, because our low humidity dries out factory lubricant faster than coastal climates do. You’ll hear the difference immediately.
2. Replacing Weatherstripping and Seals
The rubber strip along the bottom of your door and the weather seal around the frame degrade in direct sun, and Eastvale gets plenty of it. When the seal gets brittle and cracked, dust blows in, and in winter the cold air follows. Replacing bottom weatherstripping is a pull-out, slide-in job that takes fifteen minutes and costs under thirty dollars at any hardware store. You don’t need to touch anything under tension to do it.
3. Aligning Photo-Eye Sensors
If your door starts closing, then reverses and goes back up, the first thing to check is the photo-eye sensors near the floor on each side of the door. They get bumped out of alignment by bicycles, trash cans, and kids running through the garage. A small green light on each sensor should be steady; if one is blinking, loosen the wing nut, adjust the sensor until both lights are solid, and tighten. That fixes roughly one in three “door won’t close” problems we hear about in Eastvale homes.
4. Programming and Reprogramming Remotes
Whether you have a LiftMaster, Chamberlain, or Craftsman opener, remote and keypad programming is a homeowner-level task. Most units have a Learn button on the motor housing; press it, then press the button on your remote within 30 seconds. Keypads follow a similar sequence. The opener’s manual has the exact steps, and none of them involve being under the door or touching the spring assembly. If you’ve lost the manual, the manufacturer keeps PDF copies online.
If any of these four fixes makes the problem worse or doesn’t resolve it, stop there. That’s when the professional line comes into play. For a deeper look at what’s repairable versus what needs replacement, our Garage Door Repair in Eastvale page breaks down common failure points.
The Never-DIY List: Three Jobs That Send People to the ER
Every year, garage door injuries send thousands of Americans to emergency rooms. The three jobs below account for the overwhelming majority of those injuries because they all involve a component that can move without warning and with enough force to break bone.
1. Torsion Spring Replacement
A torsion spring sits on a metal shaft above your door and stores the energy that makes a 150-pound door feel like it weighs twenty. When it breaks, usually with a sound like a gunshot, all that stored energy has to go somewhere. If you’re standing under it with a winding bar when it lets go, that somewhere could be your face, hands, or chest. The spring is wound tightly even when the door is fully open, which is the part tutorials gloss over: there is no “safe position” for a loaded spring. Replacing one requires winding bars, precision count of turns, and the strength to control a bar under 30 to 40 foot-pounds of torque per quarter-turn. This is not a skill-transferable task. This is the one we’re most adamant about.
2. Cable Replacement
Lift cables run from the bottom brackets, up around pulleys, to the springs. They are under constant tension, and that tension is transferred from the springs. If a cable snaps while you’re inspecting it, the loose end can whip. If you disconnect one cable while the other is still attached, the door can pull violently to one side and jump off its track, and a door off its track can fall. Cable work requires releasing spring tension first, which means cable work is spring work. If the cable is frayed or off the drum, it’s a professional job, full stop.
3. Header Bracket Work
The header bracket is the component bolted to the wall above your door that anchors the torsion spring assembly. If it comes loose or pulls out of the framing, you’re not looking at a simple re-tighten. The springs are still attached, still under tension, and the bracket is the only thing holding that assembly in place. Working on it means supporting the spring shaft while drilling and re-anchoring into the header, often with the door in an unsupported mid-position. The wrong move sends the entire shaft, springs attached, off the wall. We’ve replaced header brackets in homes all over Eastvale, and in every case, the homeowner was smart enough to not touch it first.
If your problem is one of these three, the decision is already made. Call a technician. If you’re not sure which category your issue falls into, the Garage Door Service Eastvale home page outlines what we inspect on every service call.
Why Torsion Springs Are Different: The Physics in Plain English
Here’s the part most articles skip: the actual mechanism of injury, explained so you understand what you’re deciding about.
A torsion spring works by twisting, not stretching. When your door is closed, the spring is wound tight, holding potential energy in the form of torsional stress in the steel. A standard residential spring can be wound through seven to ten full revolutions, each revolution adding roughly seven foot-pounds of torque. Across the full wind, that’s 50 to 70 foot-pounds of stored rotational force. When the spring breaks or when a winding bar slips, that force releases in under a second. It doesn’t gradually unwind; it snaps open, and the winding bar becomes a projectile.
The wound spring is also why so many DIY attempts fail in a specific, dangerous way: the person releases the door’s tension by unwinding the spring, then realizes they can’t re-tension it to the correct balance. They end up with a door that’s too heavy for the opener, or too light, and either way the system is now misbalanced and dangerous. A misbalanced door wears out the opener motor, stresses the track, and can crash closed if the opener disengages.
The reason professional spring work in Eastvale is priced the way it is, typically between $180 and $340 for a single-spring replacement depending on spring size and door weight, isn’t parts cost; a spring itself runs $40 to $80 retail. It’s the skill and liability. You’re paying for a controlled, balanced re-tensioning, not for the metal coil. That’s also why our Garage Door Opener Repair in Eastvale service frequently finds openers that were damaged by a homeowner or handyman who replaced a spring and left the door unbalanced. The opener burned out working against a door that was suddenly too heavy.
California Contractor Law and Your Garage Door: What Actually Applies
Here’s the part most Eastvale homeowners don’t realize: in California, garage door contractors fall under the Contractors State License Board, and performing garage door work on someone else’s home for payment requires a C-61 / D-28 garage door specialty license. That’s not about your DIY work on your own property, it’s about who you hire and what happens when an unlicensed handyman gets hurt on your property.
California Business and Professions Code requires that any contractor doing work over $500 in labor and materials hold a state license. Garage door spring replacement usually runs under that threshold, which is why you’ll see unlicensed operators offering it cheap. Here’s the problem: if an unlicensed person is injured while working on your garage door, your homeowners insurance can deny the liability claim because you hired someone operating illegally. You are personally exposed. A licensed contractor carries workers’ compensation and general liability coverage specifically for this scenario.
For your own DIY work on your own single-family home in Eastvale, there is no permit requirement for maintenance tasks like lubrication, weatherstripping, or sensor alignment. There is also no permit requirement for spring replacement done by yourself, which surprises people. The state won’t stop you from doing dangerous work on your own house. The state’s position is that if you’re not charging someone else for the work, the risk is yours to take. That freedom is exactly why the decision needs to be an informed one.
For a full door replacement, which does require a permit in some Eastvale cases involving structural changes or new openings, a licensed contractor is the only legal route. Our Garage Door Installation in Eastvale page covers the permitting and measurement side of new door installations.
The True Cost of DIY: Tools, Parts, and the Callback Factor
The “I can do it cheaper myself” math usually ignores three costs that show up after the job starts. Let’s run the numbers on a simple job and a dangerous job, because the conclusion is different for each.
The Simple Job: Sensor Alignment
- Tools needed: none beyond a screwdriver you already own ($0)
- Parts: none, unless a sensor is actually broken ($25 to $45 for a replacement photo eye at retail)
- Time: 20 to 30 minutes
- Professional cost in Eastvale: $75 to $125 service call
- DIY savings: full cost, because this job is genuinely free for most people
For sensor alignment, DIY wins cleanly. No specialty tools, no risk, and the parts are cheap if needed. This is what “I’ll just fix it myself” should look like.
The Dangerous Job: Torsion Spring Replacement
- Tools needed: winding bars ($25 to $50), plus sockets, vice grips, and a level (assume $30 to $60 if you don’t own them)
- Parts: replacement spring ($40 to $80 retail, matched to door weight and height)
- Risk-adjusted cost: ER visit for a hand injury starts around $1,500 to $3,000 with insurance copays and follow-up care; a broken arm is $5,000 to $10,000; permanent hand damage is uncountable
- Professional cost in Eastvale: $180 to $340 for spring replacement, parts included, done in one visit
- Actual DIY savings if nothing goes wrong: $150 to $250
- Actual DIY cost if something goes wrong: the savings, plus medical bills, plus a door that still doesn’t work, plus lost time
The math changes completely when the risk has a dollar figure attached. And that’s before the callback factor: a high percentage of DIY spring replacements we’re called to fix afterward involved either the wrong spring size for the door’s weight or an incorrect wind count. The homeowner paid for the parts and tools, spent hours, and still paid us to do it correctly. The “savings” became a loss.
The Middle Path: Homeowner-Assisted Service Calls
Here’s the option most Eastvale homeowners never consider, and it’s the most practical one for a lot of situations: you do the safe prep work, we handle the dangerous stuff, and your billable labor drops.
When we show up for a repair, the technician is on the clock from arrival to departure. If the garage is cleared, the car is out, the work area is swept, and the door is already in manual mode with the opener disconnected, the technician starts immediately. If we’re tripping over bicycles, moving storage bins, and waiting for you to find the right breaker, that time adds up. Here’s the assisted-call sequence that works:
- Clear the work area: move cars out, sweep the floor, and clear at least four feet of space in front of the door and along the track on both sides.
- Photograph the problem: take clear photos of the broken spring, frayed cable, or damaged panel before we arrive. This helps us quote accurately over the phone.
- Note the door’s behavior: write down exactly what the door does or doesn’t do, including any unusual sounds and when they started. That context is genuinely useful for diagnosis.
- Disconnect the opener only if the door is in the closed position: pull the red manual release handle so the door is in manual mode. If the door is stuck open or half-open, don’t touch anything; leave it and tell us on the call.
- Have your opener’s brand and model visible: knowing whether it’s a Chamberlain or LiftMaster opener before we arrive means we carry the right replacement parts on the first trip.
That last point matters more than you’d think. A technician who knows the brand before arriving is a technician who can often complete the repair in one visit instead of two. If you have a Raynor or Craftsman door, that helps too. We work on the brand you already have, which means we stock for the systems Eastvale homes actually run.
Does Brand Matter for DIY Work? What Eastvale Homeowners Actually Own
The short answer: brand matters less for DIY tasks than for professional repairs, but it matters for one specific reason: parts availability and compatibility. Eastvale’s housing stock is mostly built after 1990, which means the garage doors in this city skew toward LiftMaster and Chamberlain openers paired with Clopay or Amarr doors. The older homes, and there are some, still run Craftsman openers and Wayne Dalton doors, which are harder to source parts for at retail.
For DIY work, brand compatibility mostly affects remote programming and weather seal selection. A Chamberlain remote won’t pair with a Genie opener, and a universal remote that says it works with everything sometimes just doesn’t. The bottom seal on an Amarr door uses a different retainer profile than a Clopay, and buying the wrong one means a second trip to the store. If you can read the brand name off your opener or door edge, you’re already ahead of most DIY attempts.
For professional work, brand knowledge is what separates a quick fix from a parts-ordering delay. A technician who knows that Raynor doors use a specific cable drum configuration, or that a Wayne Dalton TorqueMaster system doesn’t use traditional torsion springs at all, can diagnose and repair faster. That’s the core of what we do: we work on the brand you already have, not the brand we’d prefer to sell you. If you’re not sure what brand your system is, look at the opener’s motor housing for a printed name, or take a photo and we’ll identify it when you call.
Common Mistakes to Avoid
- Using WD-40 on a garage door: it’s a solvent, not a lubricant. It strips existing grease and leaves metal components drier than before. Use a garage-door-specific spray lubricant, especially on the spring coils and rollers.
- Replacing one torsion spring when two are broken: garage doors with two springs almost always break them within weeks of each other. Replacing just one leaves a misbalanced door and a second service call. Eastvale’s temperature swings between day and night accelerate spring fatigue, so this pattern is common here.
- Tightening a loose cable drum without releasing spring tension: the cable’s looseness is the symptom; the spring’s tension is the cause. Touching the drum under tension is exactly how cables whip and hands get sliced open.
- Adjusting the force limit on the opener instead of fixing the real problem: if the door is binding or unbalanced, cranking up the opener’s force setting masks the issue and eventually burns out the motor. The fix is addressing the door’s balance, not overriding the safety system.
- Working with the door open and the car parked underneath it: the car turns a bad situation into a worse one if the door falls. Always remove vehicles from the work area before any door work, even simple lubrication.
- Assuming a YouTube tutorial is current: garage door designs changed significantly after 2014, and a video showing a spring replacement on a 2008 door may not match your system. If the tutorial doesn’t account for your specific drum type and spring winding direction, it’s the wrong tutorial.
- Skipping the balance test after any professional or DIY repair: disconnect the opener and manually lift the door halfway. It should stay in place. If it drops or rises, the door is unbalanced and the repair isn’t done.
See the difference
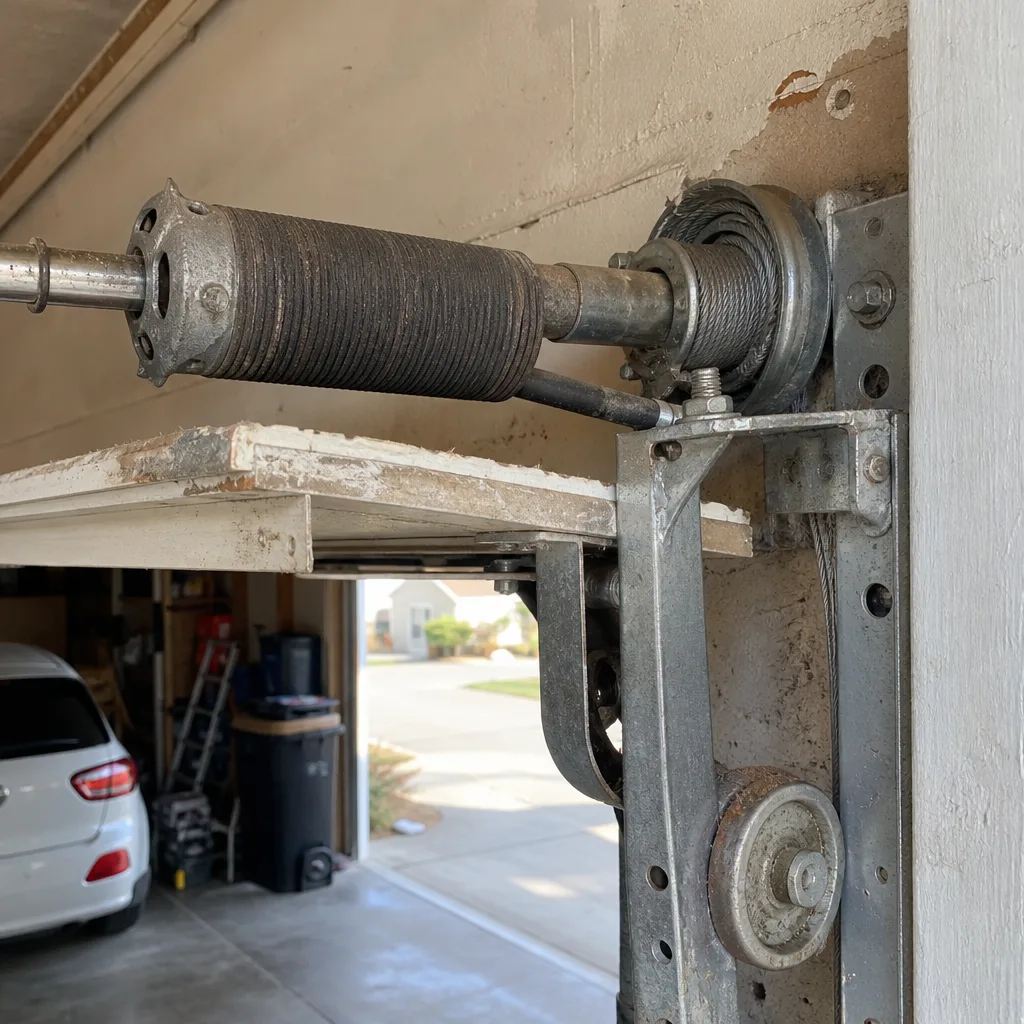 Before
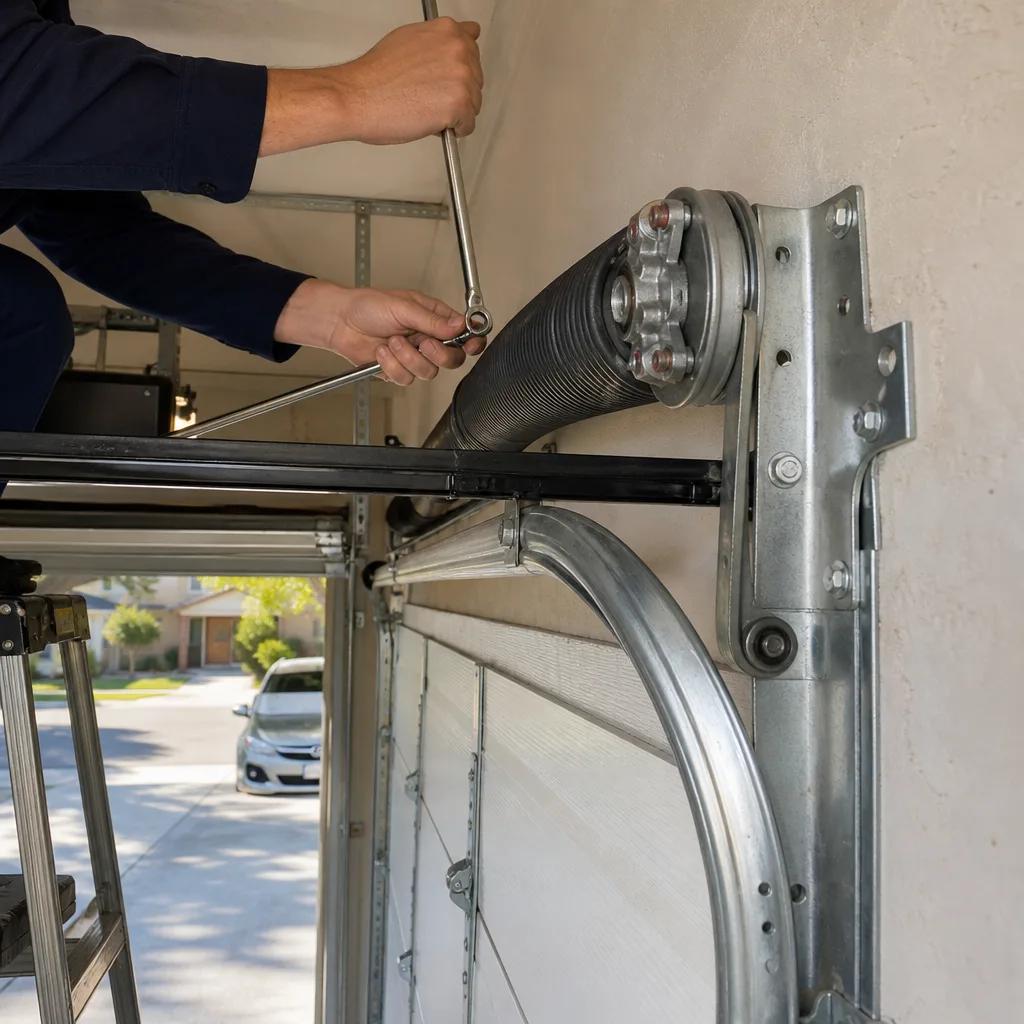 After
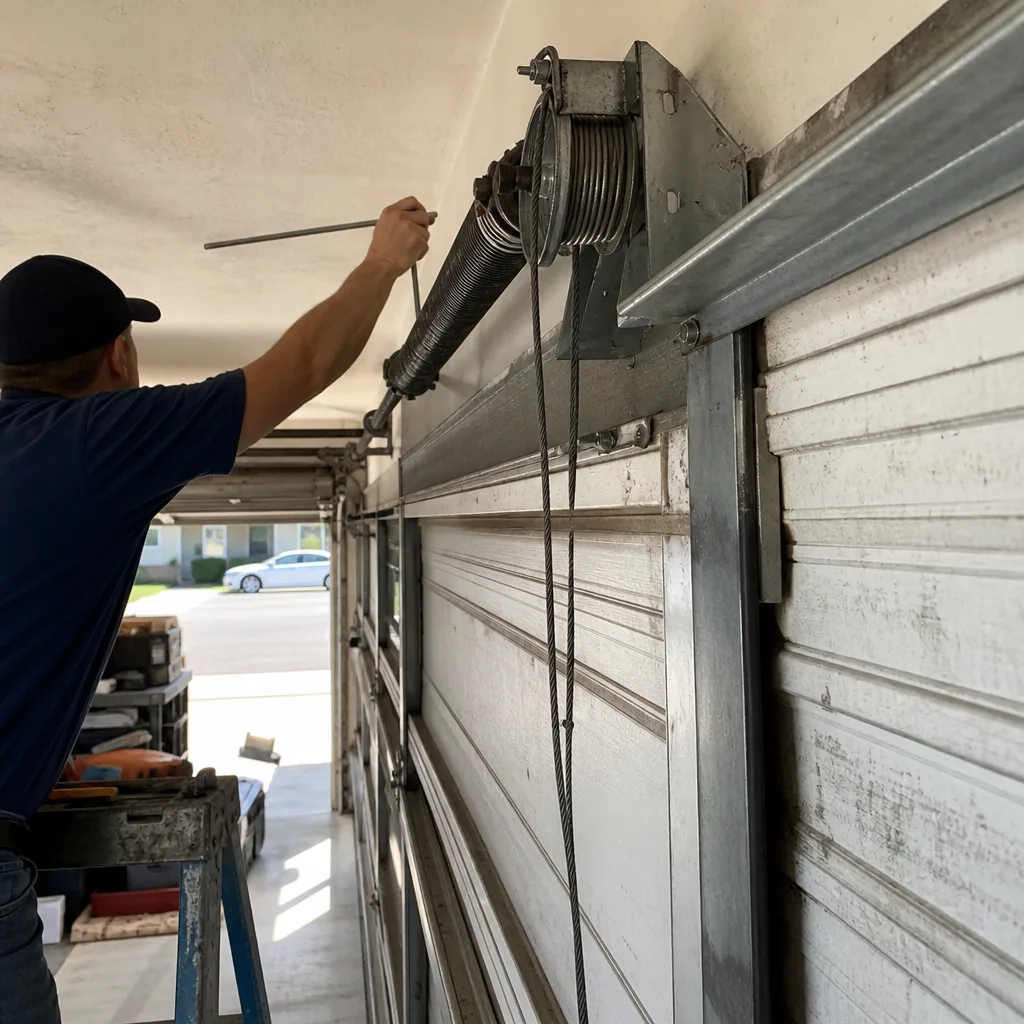 Before
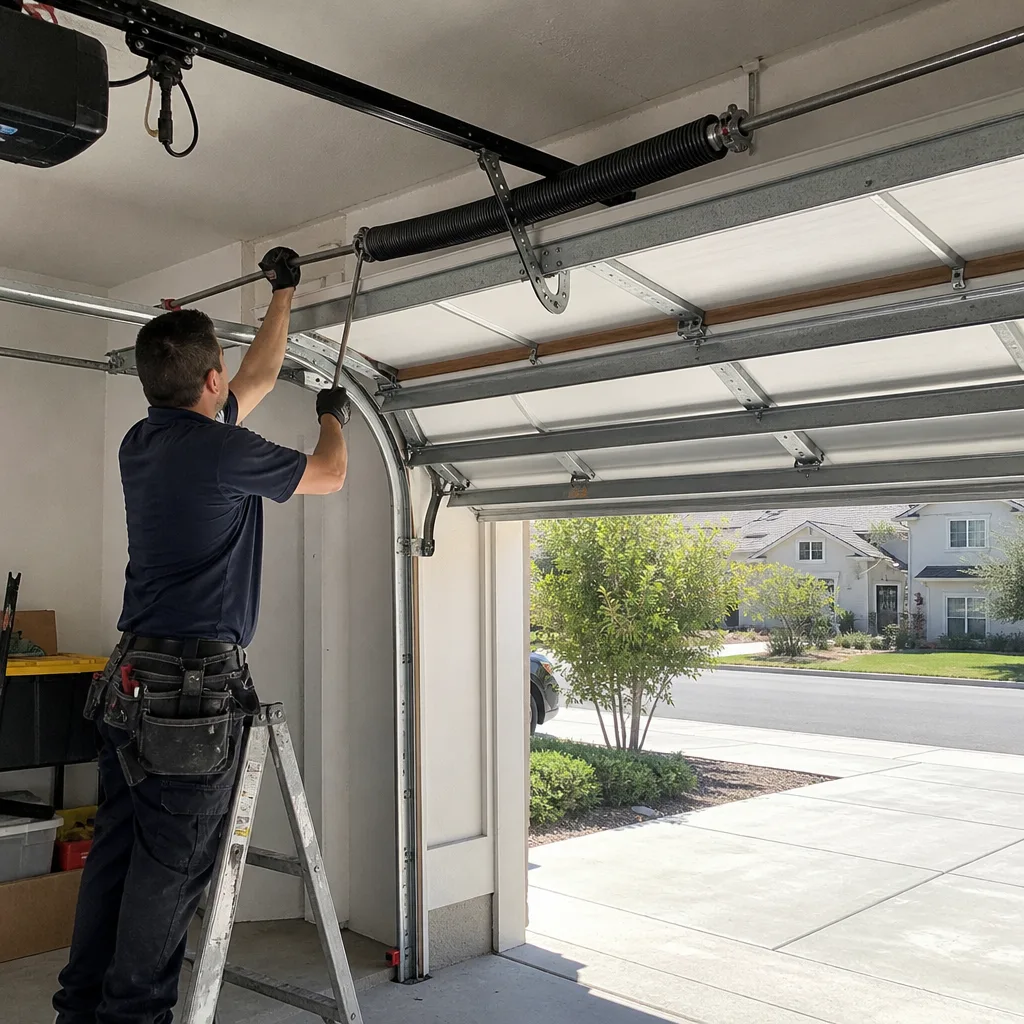 After
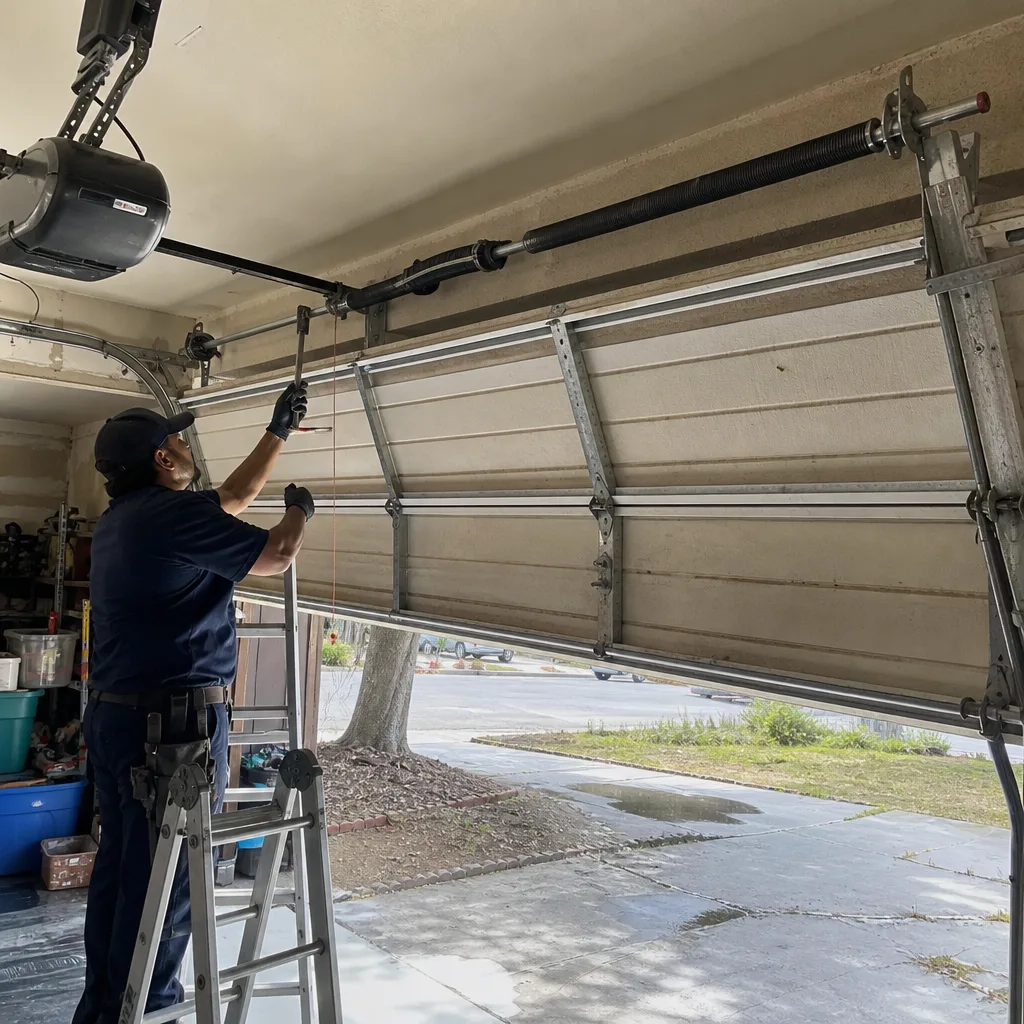 Before
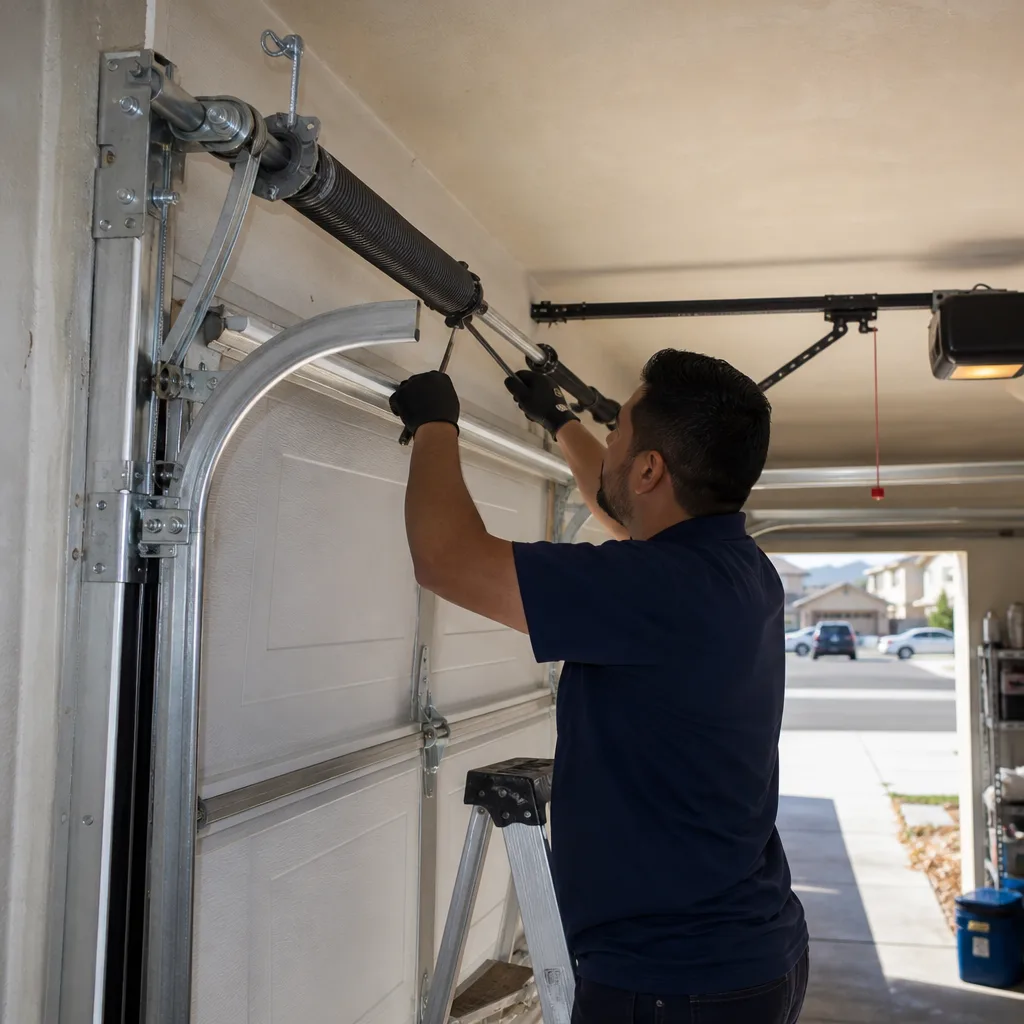 After
When to Call a Professional
Call a professional when the broken component stores energy: torsion springs, extension springs, cables, and the hardware that anchors them. Call one when the door is off its tracks and you can’t safely support its weight. Call one when the opener motor is running but the door isn’t moving, which usually means a stripped gear, a broken sprocket, or a spring failure, all of which require opening the opener housing and working with components under electrical or mechanical load. Call one when you’ve tried the safe DIY list and the problem persists, because repeated attempts at the same fix mean the diagnosis was wrong, and guessing gets expensive. Garage Door Service Eastvale offers free estimates in Eastvale, and our technicians work on the brand you already have, whether it’s a LiftMaster opener, a Chamberlain smart system, or a Craftsman legacy unit. Call (833) 593-6405 and we’ll tell you honestly whether you have a DIY job or a pro job.
Frequently Asked Questions
Torsion spring replacement in Eastvale typically costs $180 to $340 for a single spring, including parts and labor, with the price depending on the door’s weight, spring size, and whether the door has one or two springs. Call (833) 593-6405 for an exact quote, and we’ll give you a firm price before any work starts.
No, you should not replace your own garage door cable, because lift cables are under constant tension from the springs, and removing one while the other is attached can pull the door off its track or send the loose cable whipping. Cable replacement requires releasing spring tension first, which is a professional job.
Yes, California law permits homeowners to perform maintenance and repairs on their own single-family residence without a contractor’s license or permit, including dangerous tasks like spring replacement. The legal restriction applies to anyone you pay to do the work, who must hold a C-61 / D-28 garage door specialty license if the job exceeds $500 in labor and materials.
The first thing to check is the photo-eye sensors near the bottom of the door tracks, because they get bumped out of alignment frequently and cause the door to reverse instead of closing. Look for a solid green light on each sensor; if one is blinking, realign it until both lights are steady, which fixes the problem more often than not.
Lubricate your garage door every six months in Eastvale, because our dry, hot summers strip factory lubricant faster than coastal climates, causing squeaks, stiff operation, and accelerated wear on rollers and hinges. Spray garage-door-specific lubricant on the rollers, hinges, and spring coils, and avoid WD-40, which removes grease rather than adding it.
We stock parts for the eight brands most common in Eastvale homes: LiftMaster, Chamberlain, Genie, Clopay, Amarr, Wayne Dalton, Craftsman, and Raynor, which covers nearly every residential system in this city. If you can tell us your brand when you call, we’ll arrive with the parts we need and finish most jobs in one visit.
The Bottom Line
The DIY vs professional decision for your Eastvale garage door comes down to one question: does the broken part store energy? If it doesn’t, as with sensors, weatherstripping, lubrication, and remotes, you can do it yourself with a screwdriver, a can of spray lubricant, and an hour. If it does, as with torsion springs, cables, and header brackets, the risk is not a matter of skill; it’s a matter of physics, and physics doesn’t care how many tutorials you’ve watched. For the dangerous jobs, call (833) 593-6405 for a free estimate. We’ll quote you an exact price before work begins, and we’ll never replace what can be repaired. That’s the honest division of labor, and it’s the one that keeps Eastvale garages working and their owners unharmed.
Written by the team at Garage Door Service Eastvale, serving Eastvale since 2012.