
Last updated November 2, 2026
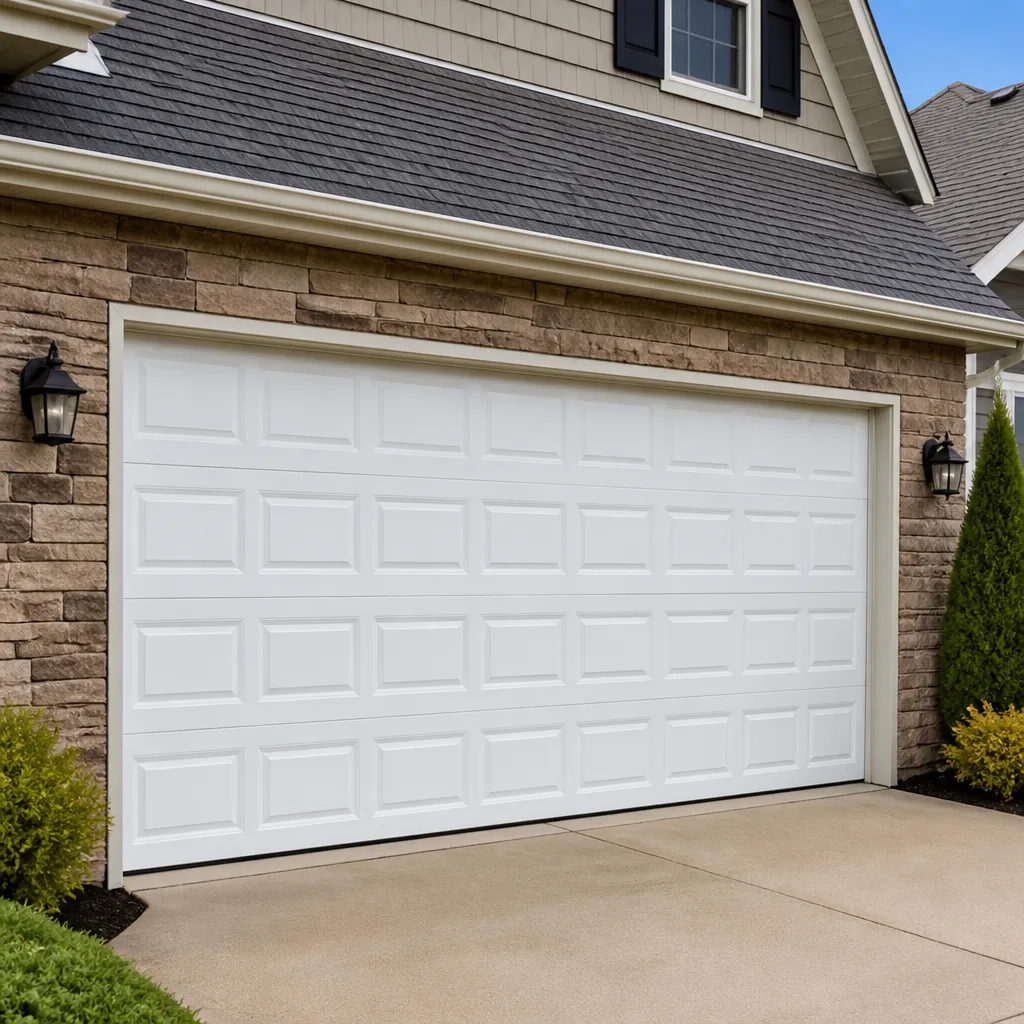 Raised-panel steel
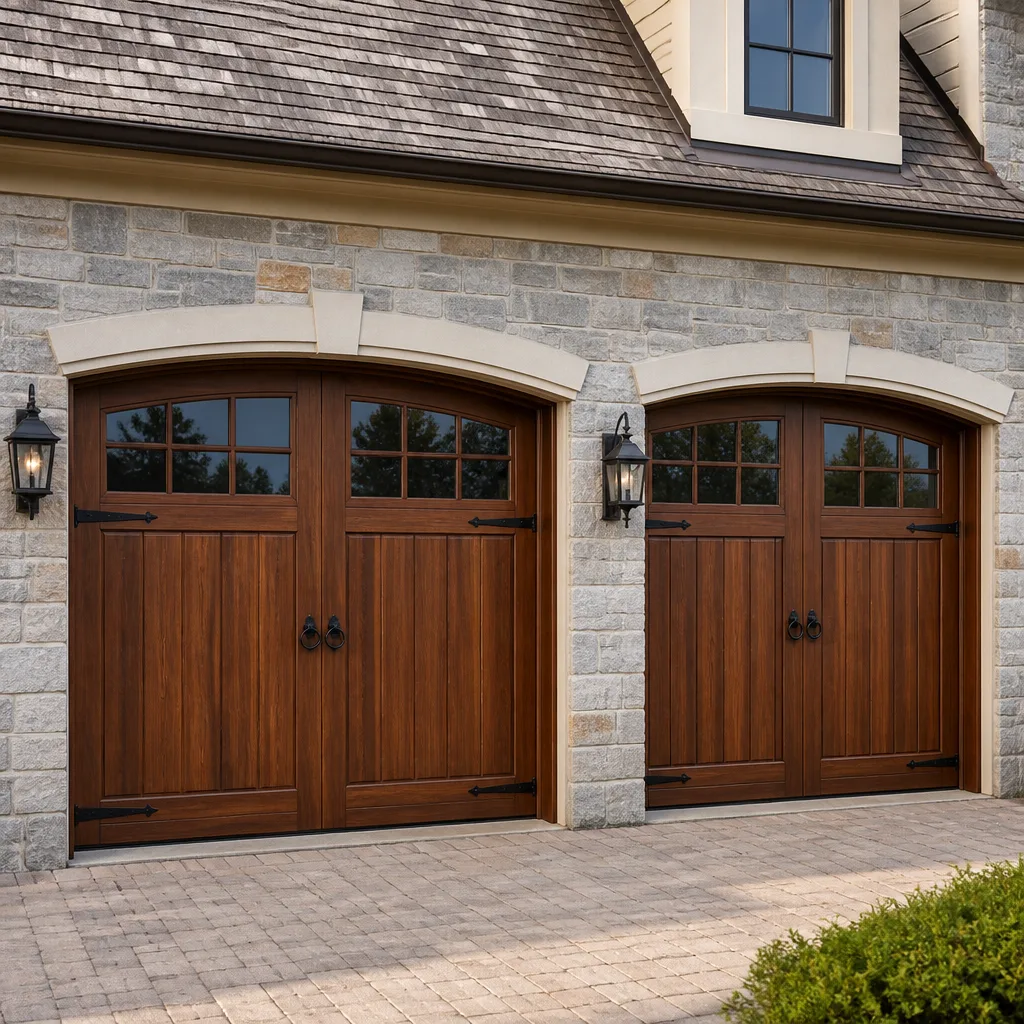 Carriage house
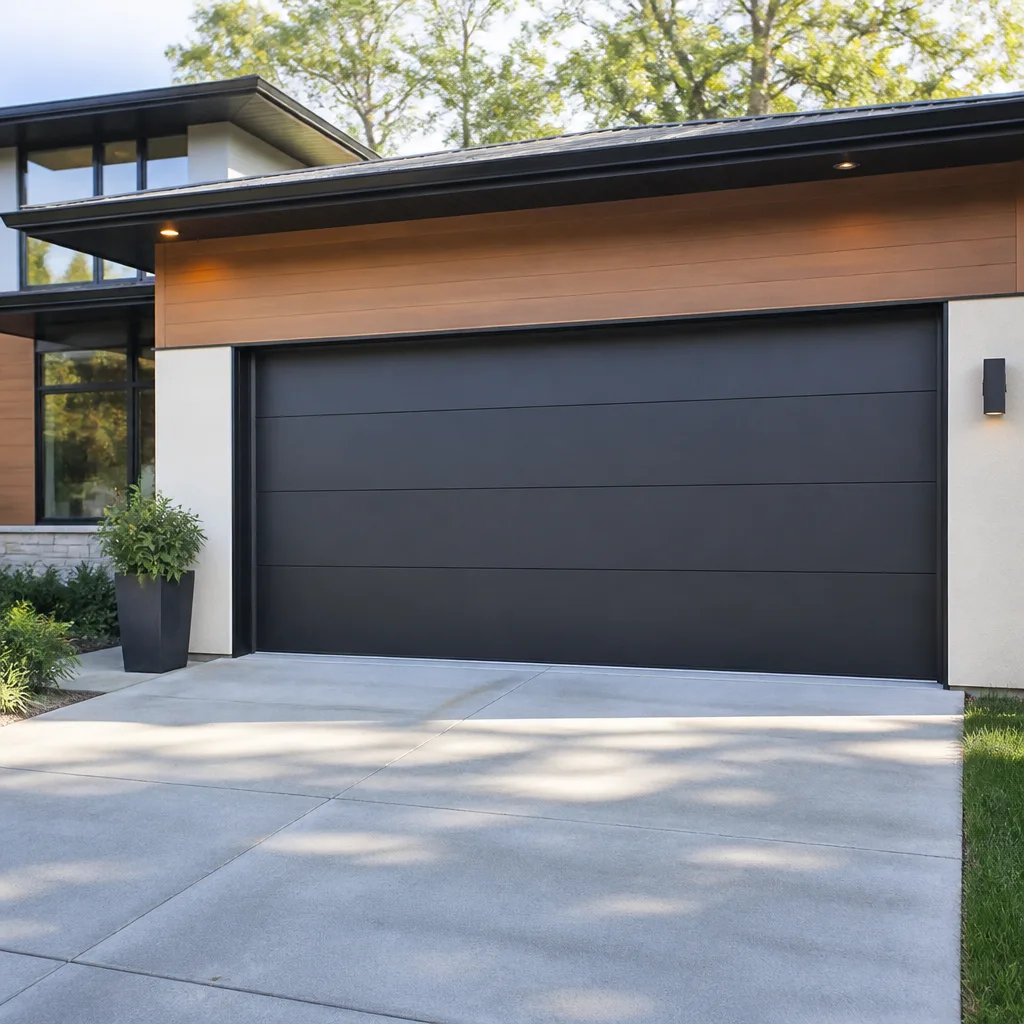 Modern flush
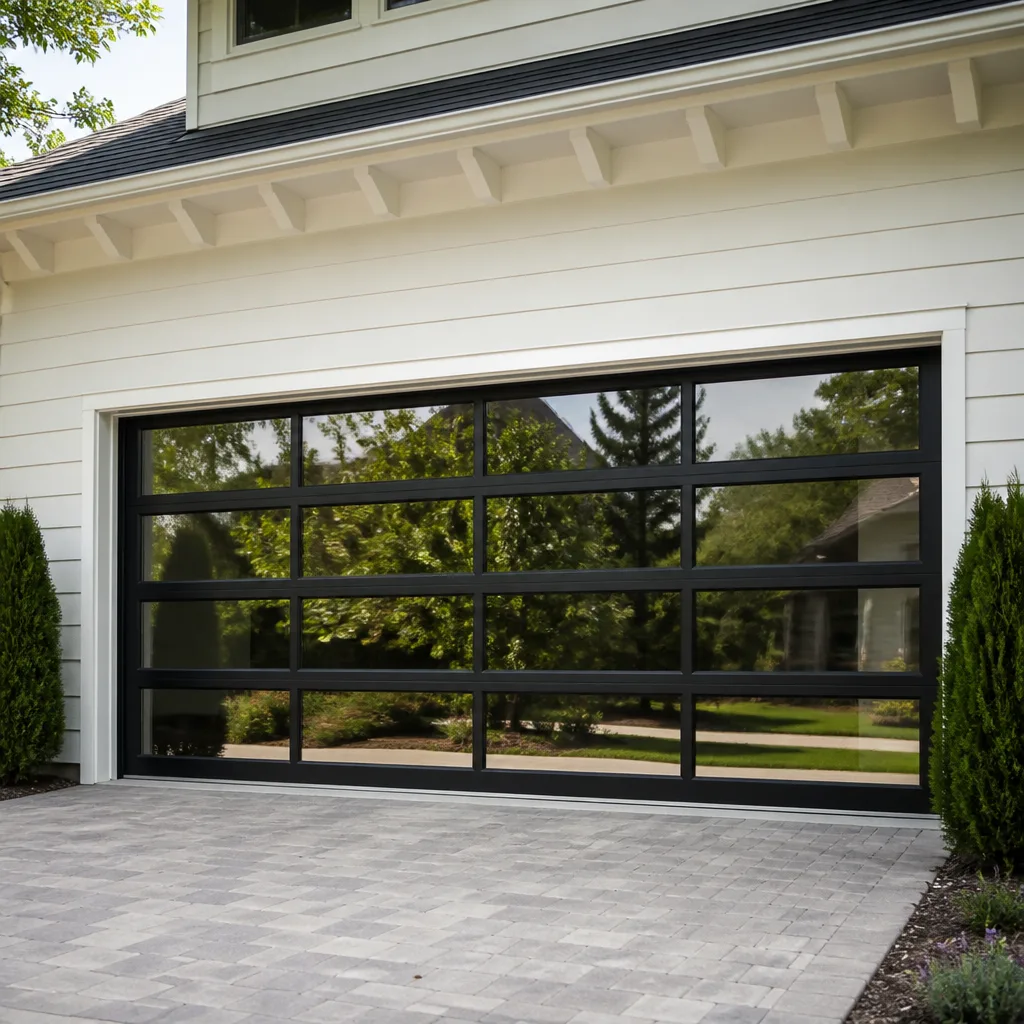 Full-view glass
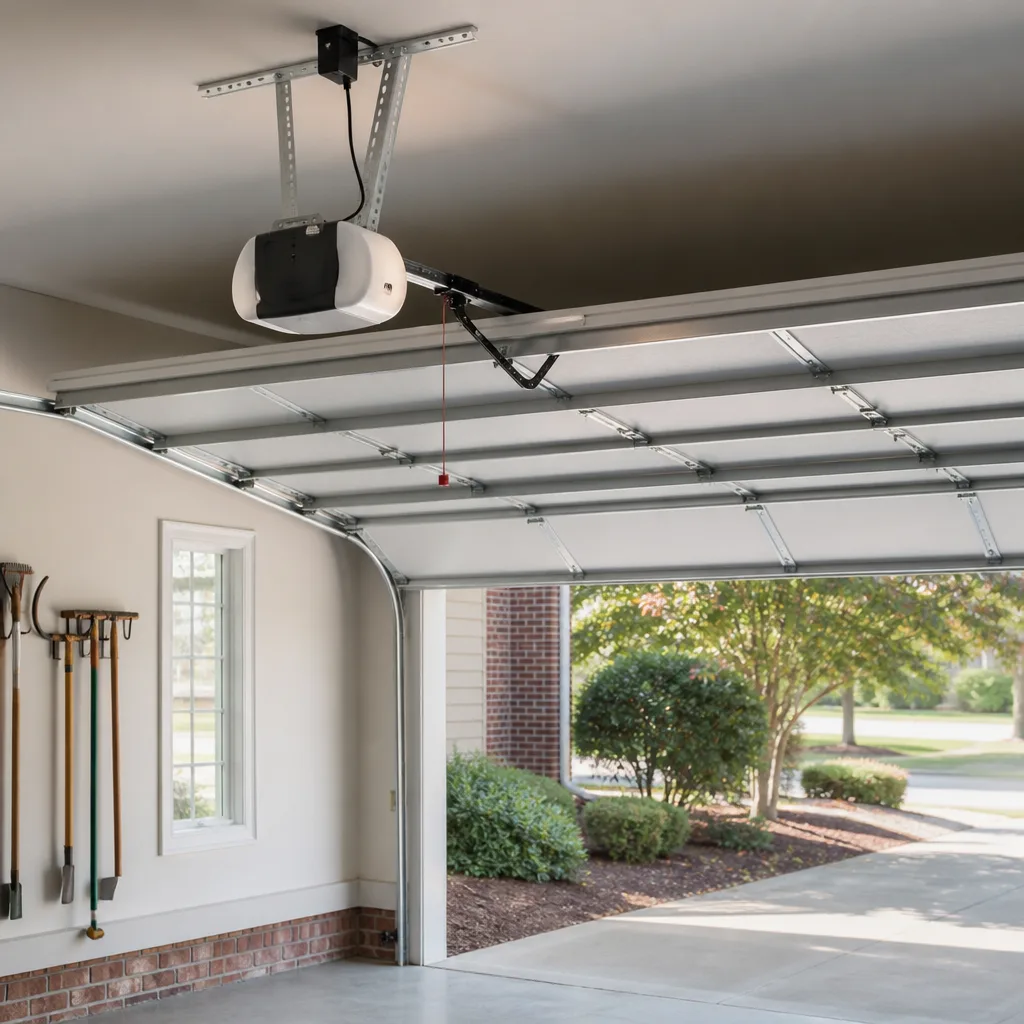 LiftMaster openers
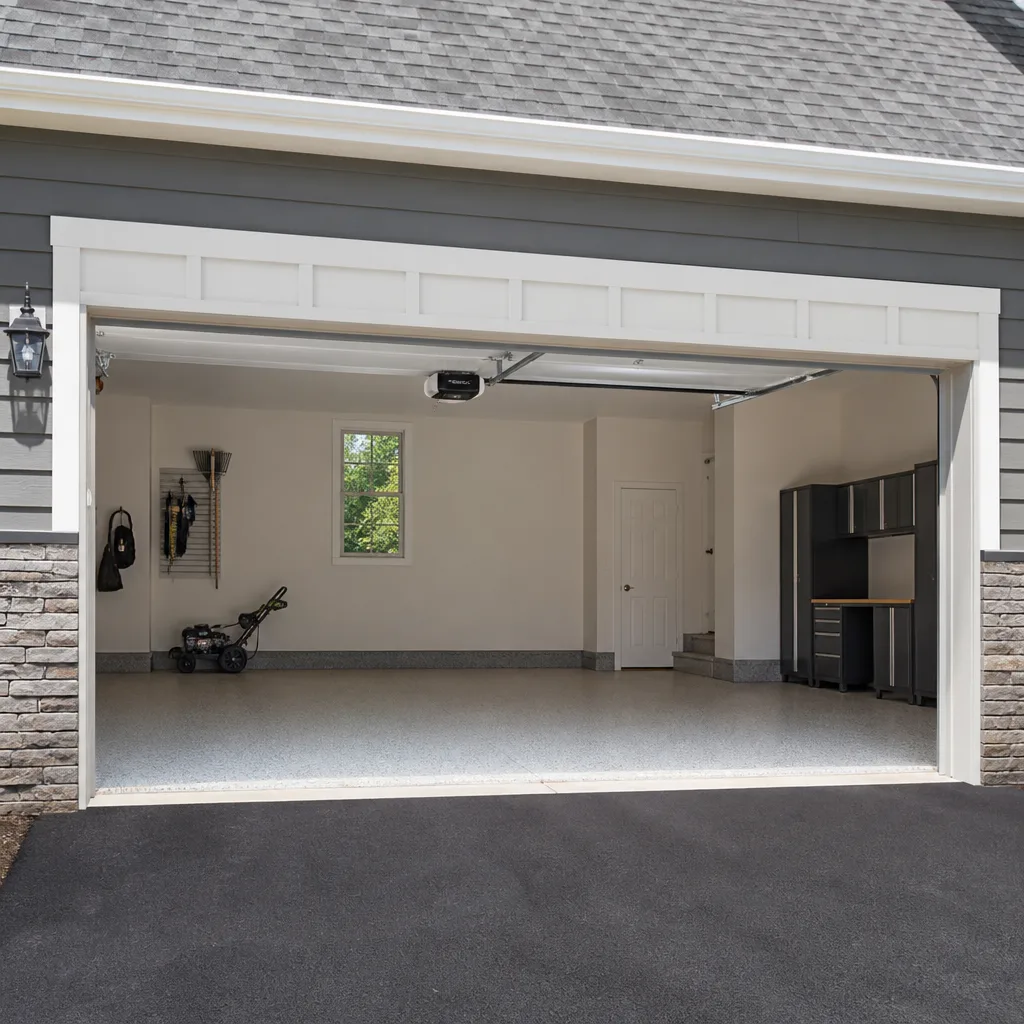 Chamberlain openers
Full 25-point door and opener safety check with every visit - springs, cables, rollers, tracks, and your LiftMaster or Chamberlain opener included
You get a price before we start. It does not change when the truck arrives.
Get your free estimateGarage Door Repair Maintenance Checklist for Eastvale Homeowners
The number-one reason Eastvale garage doors fail prematurely isn’t neglect. It’s owners doing the wrong maintenance tasks while skipping the two that actually matter in this heat. Most generic checklists you’ll find online were written for mild climates where a garage door might cycle four times a day and never see triple-digit temperatures. Eastvale is different. Our summers routinely push past 100°F, UV exposure here is relentless, and the temperature swing between a hot afternoon and a cool Inland Empire night puts stress on metal components in ways that coastal garages never experience. This checklist is sequenced by what breaks first in Eastvale’s climate, not alphabetically by component. By the time you finish reading, you’ll know exactly what to check monthly, what to do quarterly, and which two tasks prevent the majority of Garage Door Repair calls we see.
Styles & brands we work with
- Raised-panel steel
- Carriage house
- Modern flush
- Full-view glass
- LiftMaster openers
- Chamberlain openers
Quick Answer
A garage door maintenance checklist for Eastvale homeowners should prioritize torsion spring lubrication every 4-6 months instead of the standard annual interval, quarterly weatherstripping inspection due to UV damage, monthly auto-reverse safety testing, and seasonal panel inspection for heat-related delamination. The two highest-impact tasks are lubricating the torsion springs and testing the auto-reverse mechanism correctly, which together prevent most premature failures and safety hazards in this climate.
Table of Contents
- Why Torsion Spring Lubrication Needs to Happen Twice as Often in Eastvale
- The Weatherstripping Check UV Exposure Makes a Quarterly Task
- How to Test Auto-Reverse Sensitivity Correctly (Most Homeowners Do It Wrong)
- Panel Surface Inspection: What Eastvale’s South-Facing Garages Reveal First
- The Monthly, Quarterly, and Annual Task Split That Actually Gets Done
- Hardware Tightening and Track Alignment: The Loose Bolt Problem
- Opener Maintenance: What Your Motor Needs Beyond the Door Itself
- Common Mistakes to Avoid
- When to Call a Professional
- Frequently Asked Questions
- The Bottom Line
Why Torsion Spring Lubrication Needs to Happen Twice as Often in Eastvale
Here’s the thing most maintenance guides won’t tell you: torsion springs in Eastvale need lubrication roughly every 4 to 6 months, not the once-a-year schedule that passes for advice in milder regions. The reason is straightforward. Heat accelerates oxidation, and oxidation is what makes springs bind, creak, and eventually snap. When daytime temperatures climb past 100°F for weeks at a time, the thin layer of lubricant on your springs breaks down faster than it would in, say, a coastal garage that rarely exceeds 80°F. The spring steel itself also expands and contracts with the temperature swings between Eastvale’s hot days and significantly cooler nights, which can cause micro-fractures in the lubrication film. Once that film fails, metal rubs against metal, friction increases, and the spring works harder every single cycle to do the same job.
What we see in our Garage Door Repair in Eastvale work is a predictable pattern: springs that were never lubricated or were lubricated on an annual schedule fail noticeably sooner than springs that get attention every few months. It’s not just about lifespan either. A properly lubricated spring operates more quietly and puts less strain on the opener motor. If your LiftMaster or Genie opener seems to be working harder than it used to, the problem is often dry springs upstream of the motor, not the motor itself.
Here’s the lubrication process we recommend, step by step:
- Gather the right product. Use a lithium-based or silicone-based spray lubricant specifically labeled for garage door springs. WD-40 is not a lubricant in the way people think it is, and it can actually strip away the grease that’s already there. White lithium grease or a dedicated garage door lubricant is what you want.
- Disconnect the opener. Pull the emergency release cord so you can operate the door manually. This keeps the motor from fighting you and gives you a feel for whether the door is balanced, which is its own diagnostic check.
- Apply lubricant to the torsion springs. These are the large springs mounted horizontally above the door opening. Spray along the entire length of each spring, turning the door slightly if needed to reach all sides. You want a thin, even coat, not a dripping mess.
- Lubricate the spring anchor brackets and cable drums. The ends of the springs and the drums where the lift cables wind need attention too. A few short sprays at each pivot point reduces friction where it concentrates most.
- Cycle the door manually twice. Lift the door up and lower it down with your hands, listening for squeaks. If you still hear grinding, the lubricant hasn’t penetrated fully. Apply a little more and cycle again.
- Reconnect the opener and run it once. Engage the opener again and operate the door. It should run noticeably quieter and smoother. If it doesn’t, the springs may be nearing the end of their life, and that’s a professional evaluation call.
One safety note that matters: torsion springs carry enough tension to cause serious injury if mishandled. Lubricating them from the ground with a spray can is safe. Adjusting, replacing, or rewinding them is not a DIY job. If your springs look corroded, stretched, or leave a visible gap in their coils, stop using the door and call a professional. We’d rather tell you the spring has life left than have you learn about spring failure the hard way. For Garage Door Repair Troubleshooting: Common Problems and How to Fix Them, see our detailed guide.
The Weatherstripping Check UV Exposure Makes a Quarterly Task
Eastvale sits in the Inland Empire, where summer UV indexes regularly hit very high to extreme levels. That radiation does not discriminate, and the rubber and vinyl weatherstripping along the bottom and sides of your garage door takes a beating every single day your home faces the sun. What most national checklists call an annual inspection needs to be a quarterly habit here. The rubber bottom seal, called astragal, can become brittle, cracked, and flattened from UV exposure and heat cycling in a single Eastvale summer season. Once it loses its flexibility, it stops sealing against the concrete, and that gap becomes an open invitation for dust, pests, and hot air.
Here’s the check, done right:
- Look for light gaps. Close the garage door during the day and stand inside with the lights off. Look along the bottom edge, both sides, and the top. If you see daylight seeping through anywhere, the seal is compromised. Even a quarter-inch gap along a 16-foot door adds up to significant air exchange.
- Press the bottom seal with your thumb. The rubber should compress slightly and spring back. If it feels hard, cracks when you press, or has a flattened, shiny appearance, it’s past its useful life. Eastvale’s heat essentially bakes the plasticizers out of rubber, and once that happens, no amount of repositioning brings the seal back.
- Check the side and top weatherstripping. These vinyl strips channel the door’s edges. On south-facing and west-facing garages in Eastvale, the afternoon sun hits these directly. Look for warping, pulling away from the frame, or gaps where the door no longer sits snugly in the channel.
- Inspect the threshold. The concrete where the door meets the ground can settle or crack over time, especially in newer Eastvale developments where soil compaction takes a few years to stabilize. If the bottom seal is fine but a gap remains, the slab may need a threshold leveling or a thicker seal profile.
Replacing weatherstripping is one of the most cost-effective maintenance moves an Eastvale homeowner can make. The parts are inexpensive compared to what a failed seal costs you in energy loss during summer cooling season, and it’s a straightforward job on most Garage Door Service Eastvale home systems, including doors from Amarr and Wayne Dalton. If the door is original to a home built 10 or more years ago, assume the seals are due for replacement even if they look passable from a distance. Up close, Eastvale tells a different story.
How to Test Auto-Reverse Sensitivity Correctly (Most Homeowners Do It Wrong)
The auto-reverse mechanism on your garage door opener is the most important safety feature in the system. It exists for one reason: to stop and reverse the door if something or someone is in the way while the door is closing. Federal law has required it on all openers manufactured since 1993, but compliance at the factory does not guarantee the setting is still correct years later. In Eastvale, where attached garages are the norm and kids, pets, and bicycles pass through constantly, a properly functioning auto-reverse is not optional. And here’s the problem: most homeowners think they’ve tested it, but they’ve done the wrong test.
The mistake is using a tall object. People grab a 2×4, a bucket, or a box, lay it flat under the door, and hit the close button. The door closes, hits the object, reverses, and the homeowner concludes all is well. But the auto-reverse system has two distinct mechanisms, and the one you just tested is only half the story.
The first mechanism is the mechanical contact reverse. That’s what responds when the door physically touches something solid on its way down. If the door presses down on a 2×4 and reverses, that mechanism is working. The second mechanism is the photoelectric eye, the pair of small sensors mounted about 6 inches off the ground on either side of the door opening. Those sensors project an invisible beam across the opening, and if the beam is broken while the door is closing, the door should stop and reverse immediately without ever touching the object. Most people never test this, and a significant number of homes in Eastvale have openers where the contact reverse works but the sensor beam is misaligned, dirty, or bypassed, which means a child or pet walking through the opening relies solely on the physical contact mechanism. That’s not a safety net. That’s a last resort.
Here’s the correct test sequence for any opener, whether it’s a Chamberlain, LiftMaster, Genie, Craftsman, or Raynor:
- Test the photoelectric sensors first. With the door open, block the beam with your leg or by holding a broom handle across the sensor path without touching either sensor. Press the wall button to close the door. The door should not move at all, or it should reverse immediately if it was already closing. If the door closes through the blocked beam, the sensors are misaligned, dirty, or disconnected. Clean the lenses, ensure both sensors point directly at each other, and verify both indicator lights are solid. In some units, a blinking light is the alignment signal.
- Test the contact reverse with a proper object. Place a roll of paper towels or a 2×4 laid flat on the floor directly under where the door closes. Press the close button. The door should contact the object and reverse within 2 to 3 seconds. If it stops without reversing, the downforce setting is too high and needs adjustment.
- Test the force sensitivity with a smaller object. This is the step that reveals a miscalibrated system. Lay a single layer of paper towel or a thin piece of cardboard on the floor under the door. The door should reverse when it contacts this thin object. If the door crushes the paper towel and keeps going, the downforce is set dangerously high. This is a common issue in homes where someone previously adjusted the force settings to overcome a sticky door instead of fixing the underlying problem.
- Check the manual release. With the door closed, pull the emergency release cord. You should be able to lift the door manually with moderate effort. If the door is too heavy to lift comfortably, the springs are losing tension and the opener is compensating, which also affects auto-reverse calibration.
If any of these tests fail, the opener needs adjustment. Many force sensitivity and sensor alignment issues are quick fixes, but they’re also easy to get wrong if you’re not familiar with the specific model. If your opener is a smart-capable LiftMaster or Chamberlain with myQ connectivity, the settings may be accessible through a phone app, but the physical tests are still the ground truth. For Garage Door Opener Repair in Eastvale, we handle these calibrations regularly, and it typically takes one service call to get every setting dialed in correctly.
Panel Surface Inspection: What Eastvale’s South-Facing Garages Reveal First
Eastvale is a relatively young city with a lot of stucco tract homes, and many of those homes have garage doors facing south or west. That orientation means the door panels absorb direct afternoon sun for hours, day after day, year after year. Steel and aluminum garage doors are built to handle heat, but the finish on those panels is a different story. Two problems show up on south-facing and west-facing Eastvale garage doors more than anywhere else in Southern California: paint blistering and panel delamination. See our Garage Door Warning Signs: An Eastvale Homeowner’s Reference Guide for additional context.
Paint blistering is the easier issue to spot. It looks like small bubbles or raised areas in the paint, often starting along the top edge of the upper panels where heat concentrates. The sun heats the metal underneath, the metal expands, and the paint, which has become brittle after years of UV exposure, separates from the substrate. Once the paint lifts, moisture can get underneath, and then you have two problems: cosmetic damage and the beginning of corrosion.
Panel delamination is more serious and more common in Eastvale than most people realize. Many residential garage doors are constructed with a steel skin bonded to a rigid foam core. The adhesive that bonds those layers together can degrade under sustained high heat. When delamination occurs, the steel face pulls away from the foam core, usually creating a visible warping or a soft spot you can press in with your hand. A delaminated panel does not insulate properly, it’s structurally weaker, and it will not get better on its own.
Here’s the panel inspection routine we recommend, done seasonally:
- Run your hand across the panels when the door is in direct sun. Warm is normal. Hot enough to be uncomfortable is a sign the panels are absorbing and holding more heat than the finish was designed for, especially on darker-colored doors.
- Look for bubbling or lifting paint along the top edges of the upper panels first, then the second panel. This is the classic Eastvale failure pattern on south-facing doors.
- Press gently on each panel with your palm. It should feel uniformly rigid. If any section feels spongy, if you can create a visible dent with light pressure, or if the surface flexes and separates slightly, delamination has begun.
- Inspect the seams between panels. The horizontal seams where panels connect are stress points. Heat expansion can cause the seal there to fail, especially on doors from brands like Clopay and Amarr that use interlocking panel joints. If you see daylight through a seam or the joint no longer sits flush, the door needs attention before moisture works its way into the core.
In many cases, a single damaged panel can be replaced without replacing the entire door. That’s the repair-versus-replace conversation that depends on the age of the door, the availability of matching panels for the existing model, and the overall condition of the rest of the system. A full Garage Door Installation in Eastvale is worth considering if the panels are old, faded, and beginning to delaminate in multiple places, because replacing panels on a door near the end of its service life is often throwing money at a problem that’s about to get bigger.
The Monthly, Quarterly, and Annual Task Split That Actually Gets Done
Maintenance advice that expects you to spend an hour every weekend on your garage door is not maintenance advice, it’s a guilt trip. No one does that. The checklist below splits the work into a monthly routine that takes under 10 minutes, a quarterly routine that takes under 30 minutes, and an annual routine that takes under an hour. That’s a realistic cadence, and it catches problems early enough to prevent most of the failures we see in Eastvale.
Monthly Tasks: Under 10 Minutes
- Test the auto-reverse safety system using the correct procedure described above. This is a 2-minute job that protects everyone in the household.
- Do a visual and auditory sweep. Stand inside the garage while the door cycles once. Listen for grinding, squeaking, or straining. Watch for jerky movement or hesitation. A door that moves smoothly on both halves of the cycle is a healthy door.
- Check the opener’s force sensitivity by observing how the door behaves at the bottom of its travel. It should seat firmly but not slam. If it hits the ground hard, the downforce is too high.
Quarterly Tasks: Under 30 Minutes
- Lubricate the torsion springs, hinges, and rollers with a lithium or silicone spray. In Eastvale’s summer heat, do this every 4 months instead of every 3 in the cooler months. The spring is the priority; everything else is secondary but worth doing while you’re there.
- Inspect all weatherstripping for brittleness, cracks, and light gaps. Replace the bottom seal if it’s flattened or stiff.
- Inspect panel surfaces for paint blistering and delamination, paying extra attention to south-facing and west-facing exposures.
- Clean the photoelectric sensor lenses with a dry cloth. Dust and spider webs are a constant problem in Eastvale garages, and a dirty sensor can cause intermittent opener failures that look like a broken opener but aren’t.
Annual Tasks: Under 1 Hour
- Tighten all door and track hardware. Rollers, hinges, brackets, and track bolts all work loose over time due to vibration. A loose bolt on a track bracket can cause the entire track to shift, which creates binding and premature wear on everything else.
- Check door balance. Disconnect the opener and lift the door manually to about waist height. Release it. A balanced door stays in place. If it drops, the springs are losing tension. If it shoots upward, the springs are over-tensioned. Either condition needs professional correction.
- Inspect the lift cables for fraying, rust, or kinking. These cables are under constant tension and are a severe injury hazard if they snap. Look but don’t touch.
- Test the opener’s manual release function and verify that the emergency cord is intact and accessible. If your opener has a battery backup, test that too, especially since Eastvale power outages during summer heat events are not uncommon.
Hardware Tightening and Track Alignment: The Loose Bolt Problem
Garage doors are heavy. A typical 16-foot steel door weighs somewhere between 150 and 250 pounds depending on insulation and construction. Every time the door cycles, that weight is transferred through rollers, hinges, brackets, and track hardware. Vibration and load cycling slowly work bolts loose, and Eastvale’s temperature swings accelerate the process because metal expands and contracts on a daily basis. What starts as a slightly loose bolt becomes a misaligned track becomes a door that sticks, scrapes, or binds, and eventually becomes a repair that could have been prevented with 15 seconds of attention months earlier.
The hardware check is best done as part of the annual routine, but if you notice any new sounds from the door, do it sooner. Here’s the sequence:
- Start at the hinges. Look at every hinge where the panels connect. There should be no gaps between the hinge plate and the panel surface. If a hinge has shifted or the screws have loosened, you’ll see a visible gap or the hinge will wiggle when you push on it gently. Tighten any loose screws, but do not overtighten, which can strip the threads in the panel.
- Move to the vertical and horizontal tracks. The tracks should be perfectly parallel to each other along their entire length. Stand at one end and sight down the track. Any inward or outward bow is a misalignment. Track brackets should be tight against the wall or ceiling, with no play. If a bracket has come loose from the framing, that’s a call for professional reattachment, as the bracket position determines the door’s entire travel path.
- Check the rollers. Rollers should turn freely inside their tracks and should not have a flattened spot on the wheel. Steel rollers in uninsulated Eastvale garages can rust faster due to temperature and humidity cycling. Nylon rollers last longer and run quieter, and they’re a worthwhile upgrade on older doors from brands like Wayne Dalton and Craftsman that came with steel rollers from the factory.
- Inspect the cable drums at the top of the door. The drums should be clean, with no visible groove wear and no cable overlap. If the cable is wearing into the drum, the drum needs replacement before the cable fails.
The track is the highway system for your door. When the highway is straight and the hardware is tight, the door travels fast and smooth. When it’s not, every cycle does incremental damage to the rollers, the cables, and the opener. That damage is cumulative and silent until it’s not.
Opener Maintenance: What Your Motor Needs Beyond the Door Itself
Most maintenance checklists focus on the door and treat the opener as an afterthought. That’s backward thinking in Eastvale, where opener motors run hotter and work harder because garage interiors can exceed 110°F during summer. The opener is an electromechanical device with a motor, gears, a drive mechanism, and in modern units, a circuit board and wireless receiver. Every one of those components has a service life, and the environment it lives in determines how long that life is.
Here’s what opener maintenance actually requires:
- Listen to the motor. A healthy opener hums steadily under load. A motor that sounds labored, whines, or changes pitch while cycling is working harder than it should be, usually because the door is out of balance or the drive mechanism needs lubrication. Motor strain shortens opener life significantly.
- Check the chain or belt tension. Chain-drive openers from Chamberlain, Craftsman, and older LiftMaster models need periodic chain tension checks. A chain that’s too loose slaps against the rail and wears the sprocket. A chain that’s too tight stresses the motor bearings. Belt-drive openers are lower maintenance, but the belt should still be checked for cracking or unusual wear.
- Inspect the opener’s mounting hardware. The opener is suspended from brackets above the door. If those brackets loosen, the opener shifts, the rail flexes, and the entire system runs out of alignment. Tighten the mounting bolts and check that the opener sits level.
- Clean the optical sensors. We covered this in the quarterly routine, but it bears repeating because sensor failures are the number-one cause of “my opener won’t close” calls in Eastvale. A dusty sensor is a 5-second fix.
- Check the opener’s force and travel limits twice a year. These settings drift on older units, especially those with mechanical limit switches instead of digital controls. If your door no longer opens fully or closes fully, or if it reverses for no apparent reason, the limit settings are the first suspect.
Modern smart openers, like the LiftMaster and Chamberlain models with myQ connectivity, add a layer of electronic complexity. The good news is that these units provide diagnostic information through their companion apps, including force profiles, cycle counts, and error codes. The bad news is that a failed control board on a smart opener is not field-repairable and typically means a board replacement. If your opener is more than 12 to 15 years old and the motor is working hard, or if the door itself is showing its age, the most cost-effective move is often a full opener replacement rather than incremental repairs on a unit that’s nearing the end of its design life.
Common Mistakes to Avoid
- Using WD-40 on garage door springs and hinges. WD-40 is a water displacer and solvent with some lubricating properties, but it’s not a long-term lubricant for garage door components. It can actually strip away the grease that was there and leave the metal drier than before. Use a lithium or silicone spray labeled specifically for garage doors.
- Testing auto-reverse with a 2×4 and calling it done. The 2×4 test only checks the mechanical contact reverse. The photoelectric sensor test is equally important and is the one most people skip. Test both mechanisms the way we described above.
- Ignoring a noisy door because it still works. Noise is the earliest warning sign of a problem. A squeak becomes a grind, a grind becomes a bind, and a bind becomes a broken component. The time to fix the noise is when it’s still just a noise.
- Skipping spring lubrication because the door opens fine. Dry springs work right up until they snap. The entire point of lubrication is prevention, not correction. If your springs look rusted or you can hear them grinding, they’re already past the point where lubrication alone solves the problem.
- Adjusting opener force settings to overcome a sticking door. When a door starts to stick or hesitate, the correct response is to find out why, not to crank up the force. Increasing downforce to force a door through a binding point is how auto-reverse mechanisms get defeated and how glass, bikes, and fingers get crushed.
- Putting off weatherstripping replacement because it doesn’t seem urgent. A failed bottom seal is an energy leak, a dust magnet, and a pest entry point in Eastvale. The cost of replacement is modest. The cost of ignoring it shows up in your cooling bill and the dirt accumulating in the garage.
- Attempting spring replacement as a DIY project. Torsion springs are under extreme tension and the consequences of a mistake are catastrophic. There’s a reason this is the one garage door repair where even experienced handymen call a professional. We respect the do-it-yourself instinct in general, but springs are the exception that keeps emergency rooms in business.
When to Call a Professional
Some garage door issues are obvious DIY territory. Others are not. Here’s where the line is. Call a professional if your torsion spring is visibly broken or shows a gap in the coils, if your lift cables are frayed or have come off the drums, if your door is out of balance and won’t stay in place when released manually, or if your opener’s auto-reverse fails any of the tests described above. These are not maintenance items. These are safety-relevant failures that require tools, training, and experience to correct properly. Garage Door Service Eastvale offers free estimates in Eastvale. Call (833) 593-6405 and we’ll tell you whether the problem is something you can handle or something we should handle. We work on the brand you already have, whether that’s a decade-old Craftsman or a recent Raynor, and we’ll give you an honest answer either way.
Frequently Asked Questions
Lubricate your torsion springs every 4 to 6 months in Eastvale because sustained summer heat above 100°F causes the lubricant film to break down faster than in milder climates. If you garage faces south or west and gets direct afternoon sun, lean toward the 4-month interval. Call (833) 593-6405 if your springs are already noisy or show visible rust, since lubrication won’t reverse existing wear.
A loud bang, especially on the first cycle of the day, is usually a torsion spring settling or a track bracket that shifted overnight as the metal cooled. In Eastvale, the temperature difference between late-night lows and early-morning operation causes metal components to contract, and that contraction can produce noise that disappears later in the day. If the bang happens consistently, have the springs and track hardware inspected.
Yes, but the 2×4 test only verifies the mechanical contact reverse mechanism. You must also test the photoelectric sensor beam by blocking it without touching the door, because the sensor test is what confirms a child or pet walking through the opening will trigger the door to stop and reverse. A door that passes the 2×4 test but fails the sensor test is not safe to operate.
Paint bubbling and peeling on garage doors in Eastvale is caused by sustained UV exposure and high surface temperatures, particularly on south-facing and west-facing doors where the steel skin expands and contracts against a paint finish that has become brittle from years of sun. Once the paint lifts, moisture can reach the underlying steel and begin corrosion, so blistered paint should be addressed before it becomes panel damage.
Most torsion springs are rated for 10,000 cycles, which translates to roughly 7 to 10 years of typical residential use, but Eastvale’s heat and the frequency of door cycles in households with multiple drivers can shorten that lifespan. Springs that are lubricated every 4 to 6 months and used on a properly balanced door tend to reach the upper end of their range, while dry, neglected springs may fail noticeably sooner.
A smart opener is worth considering if your current opener is more than 12 years old, if you want smartphone control and remote monitoring, or if your current unit is the only non-connected device in an otherwise smart home. The most common smart platforms are from LiftMaster and Chamberlain with myQ, both of which we service regularly. The decision should be based on the condition of your existing opener and your usage patterns, not on features you’ll never use.
The Bottom Line
A garage door maintenance checklist only works if it matches the environment the door actually lives in. In Eastvale, that means lubricating springs more often than the national average suggests, checking weatherstripping quarterly instead of annually, testing the auto-reverse mechanism correctly including the sensor beam, and inspecting panels for heat-related paint and delamination damage. The monthly, quarterly, and annual split outlined here takes less than an hour of total attention over the course of a year and prevents the vast majority of failures that strand cars in garages and trigger emergency repair calls. Explore more guides & resources for year-round maintenance. If you hit a problem that’s beyond maintenance, we’re here. One call covers the door and the opener, so you’re never coordinating two contractors or waiting on a second opinion.
Need a professional look at your garage door? Call Garage Door Service Eastvale at (833) 593-6405 for a free estimate. We’ll tell you honest whether it’s a fix, an adjustment, or a replacement, and the price is quoted and agreed before any work starts.
Written by the team at Garage Door Service Eastvale, serving Eastvale since 2012.
See the difference
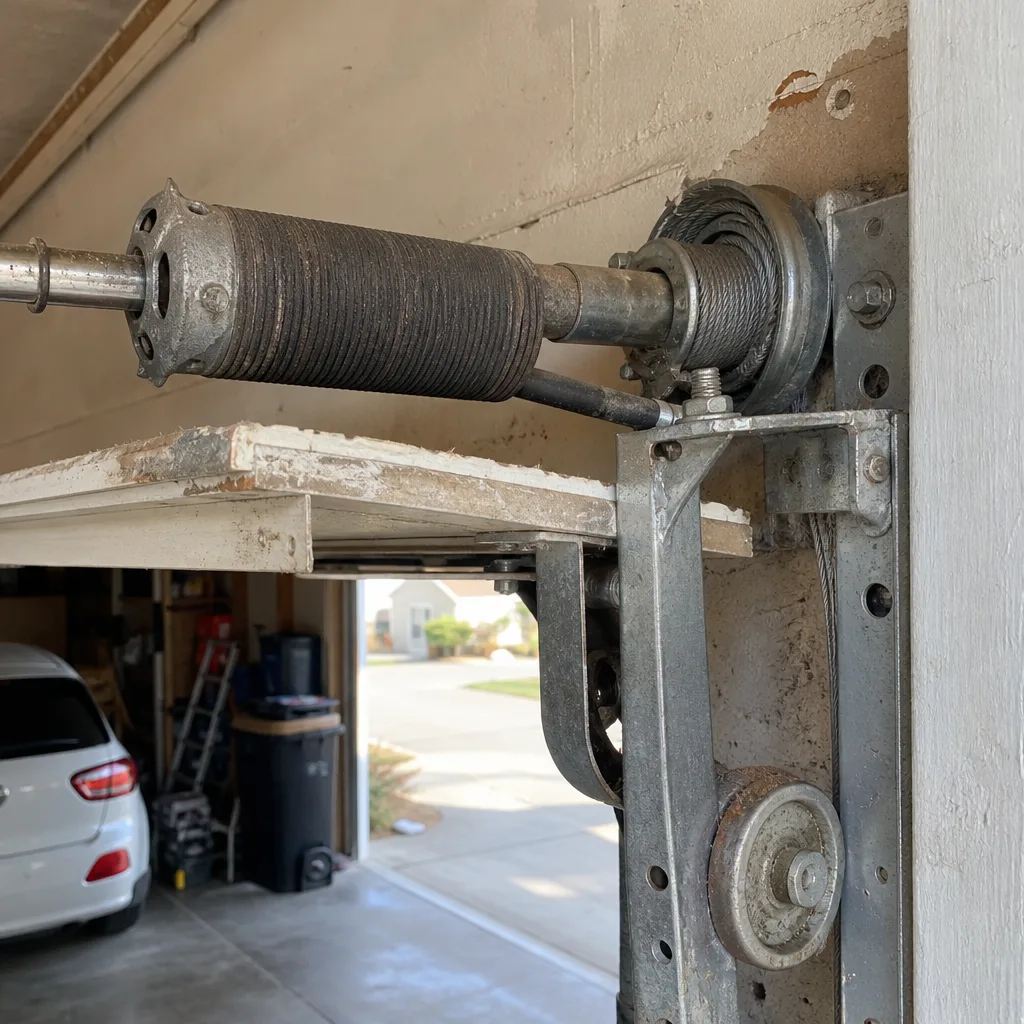 Before
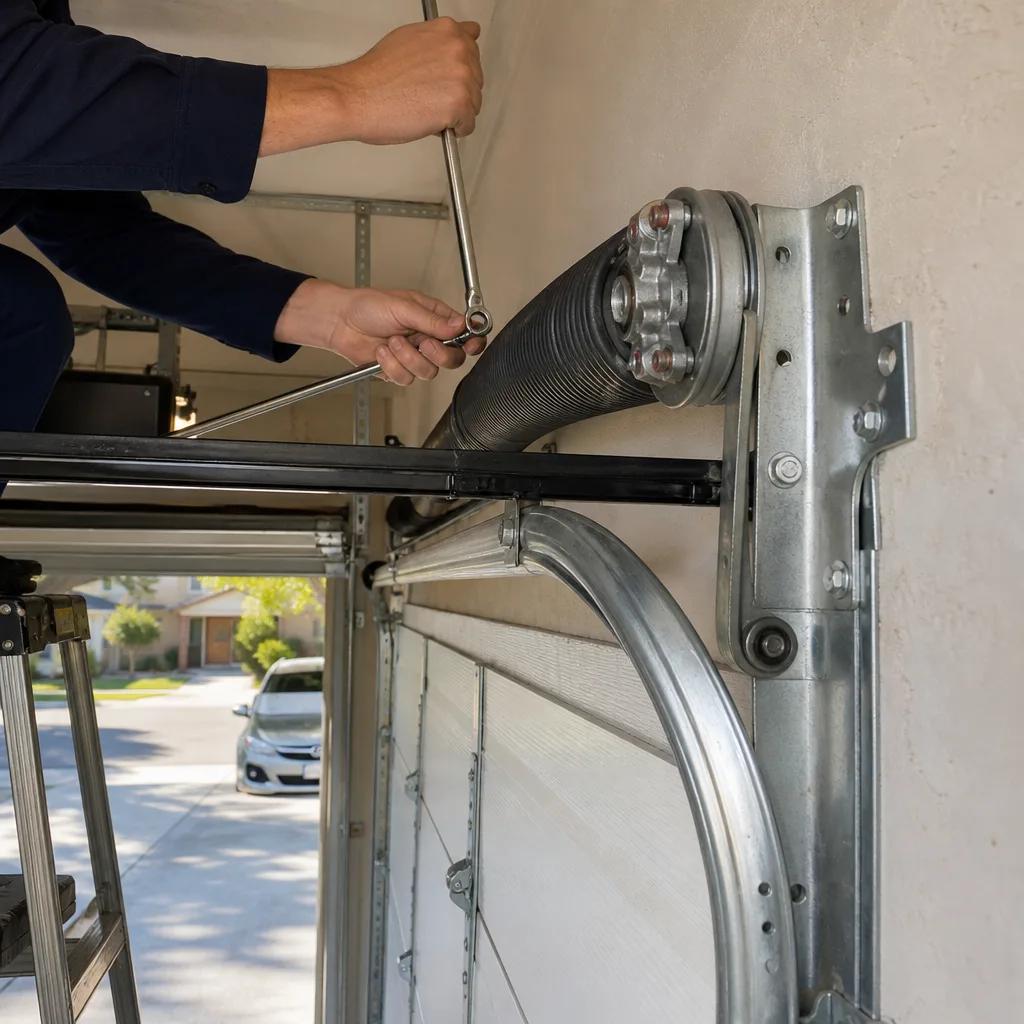 After
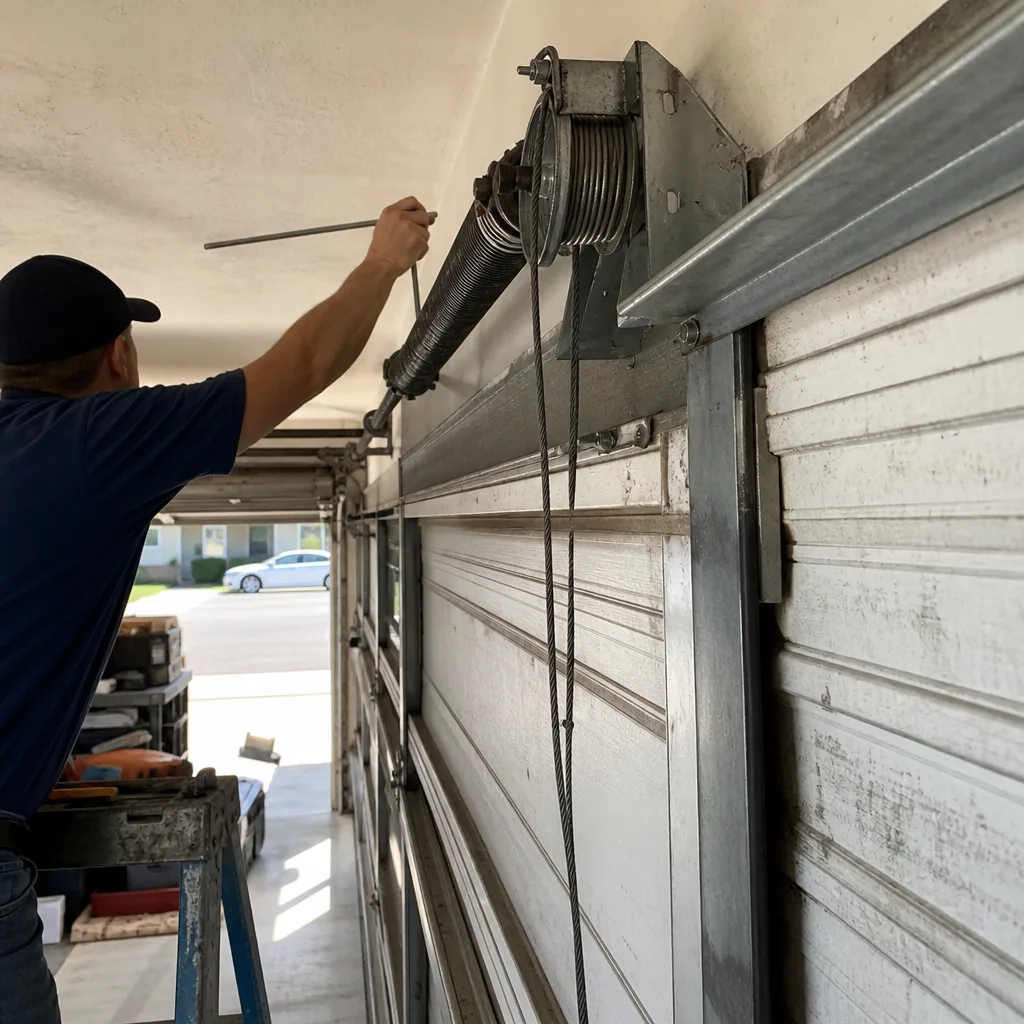 Before
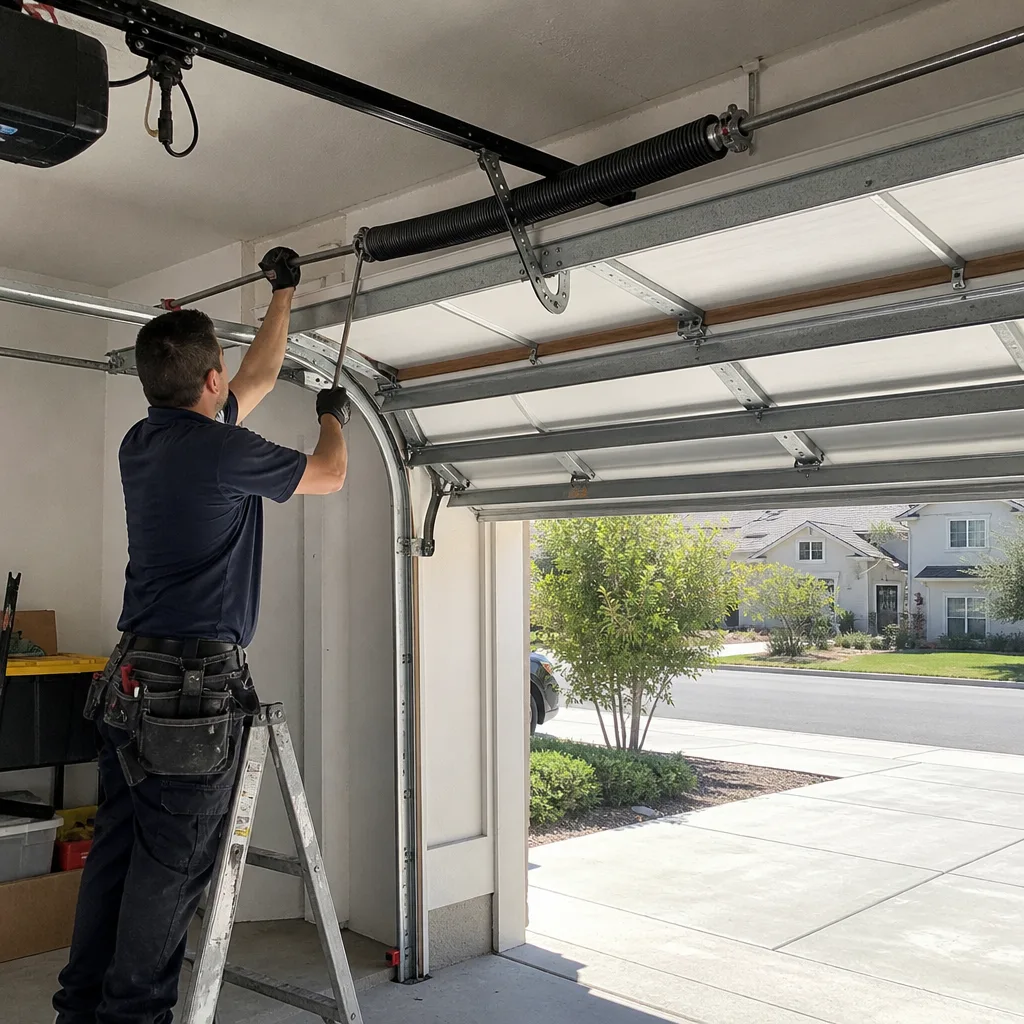 After
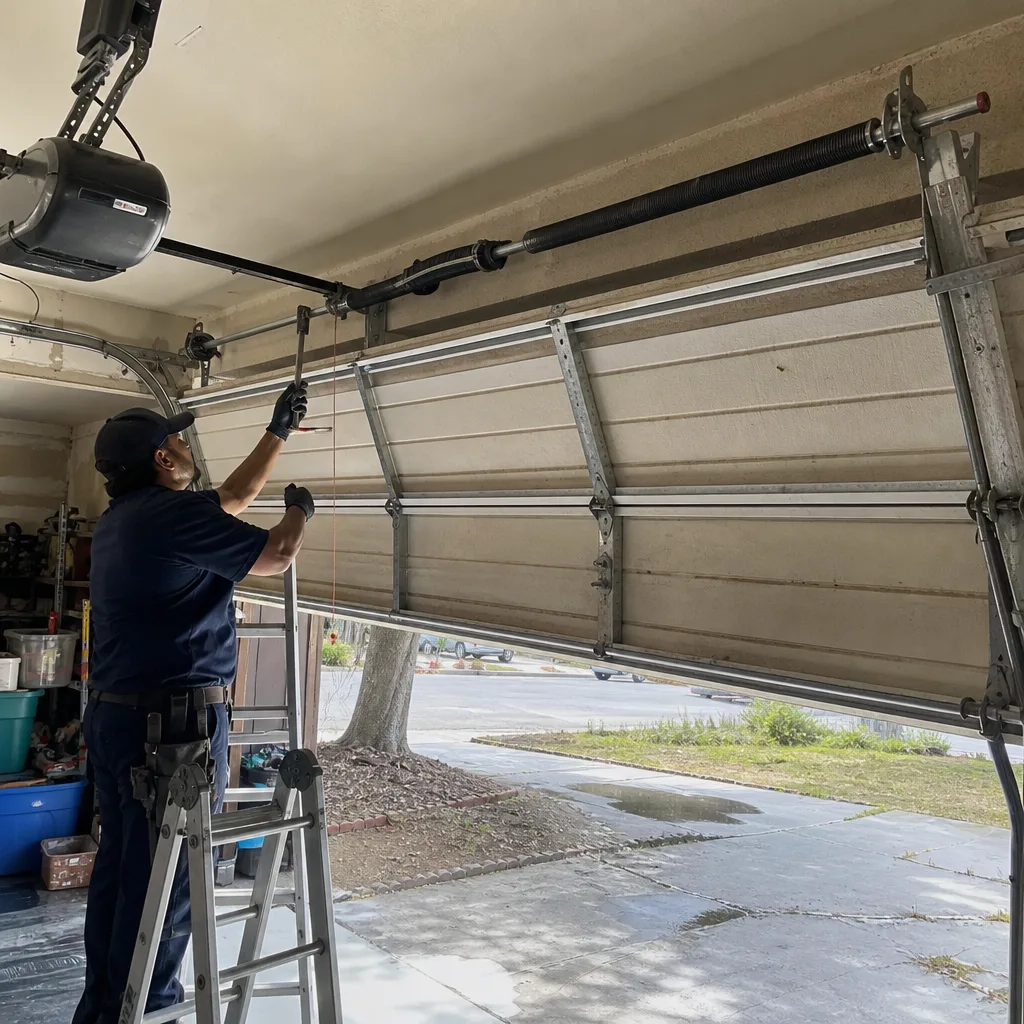 Before
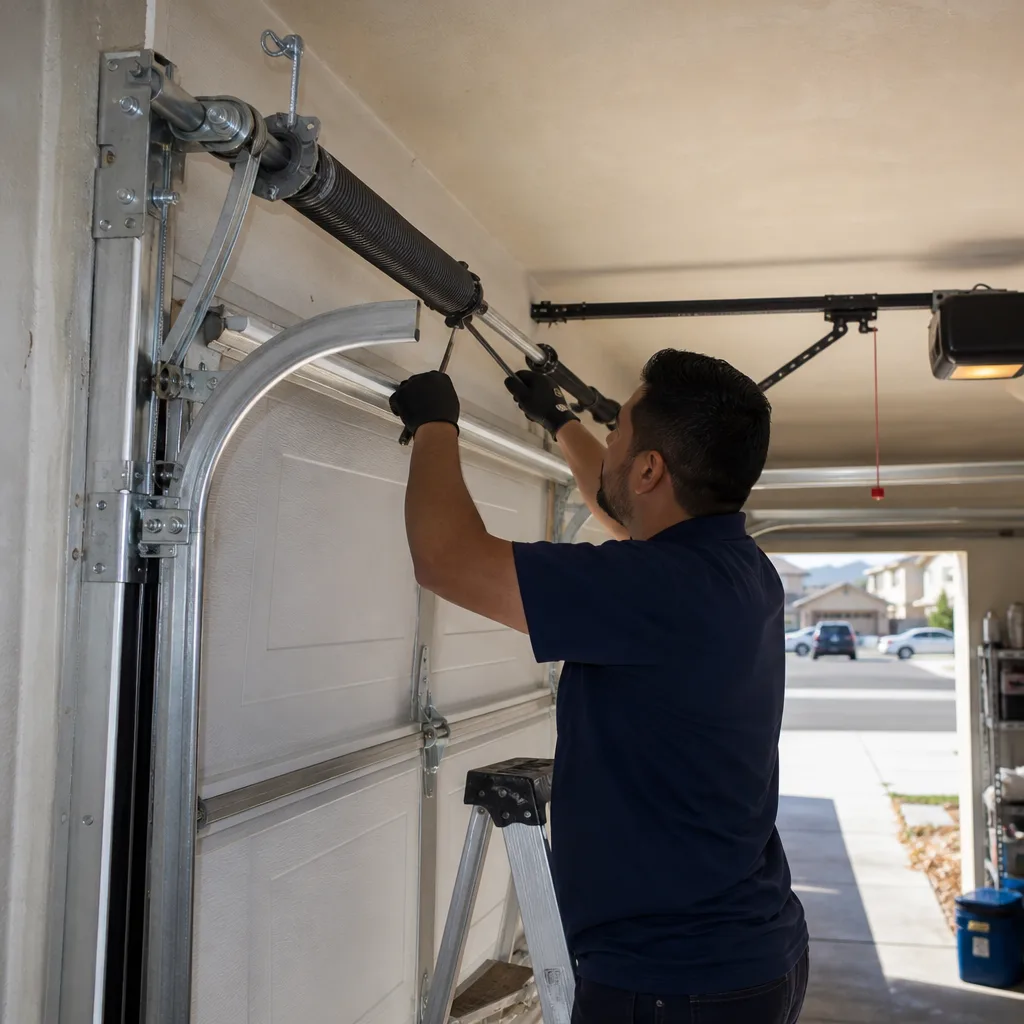 After