
Last updated November 2, 2026
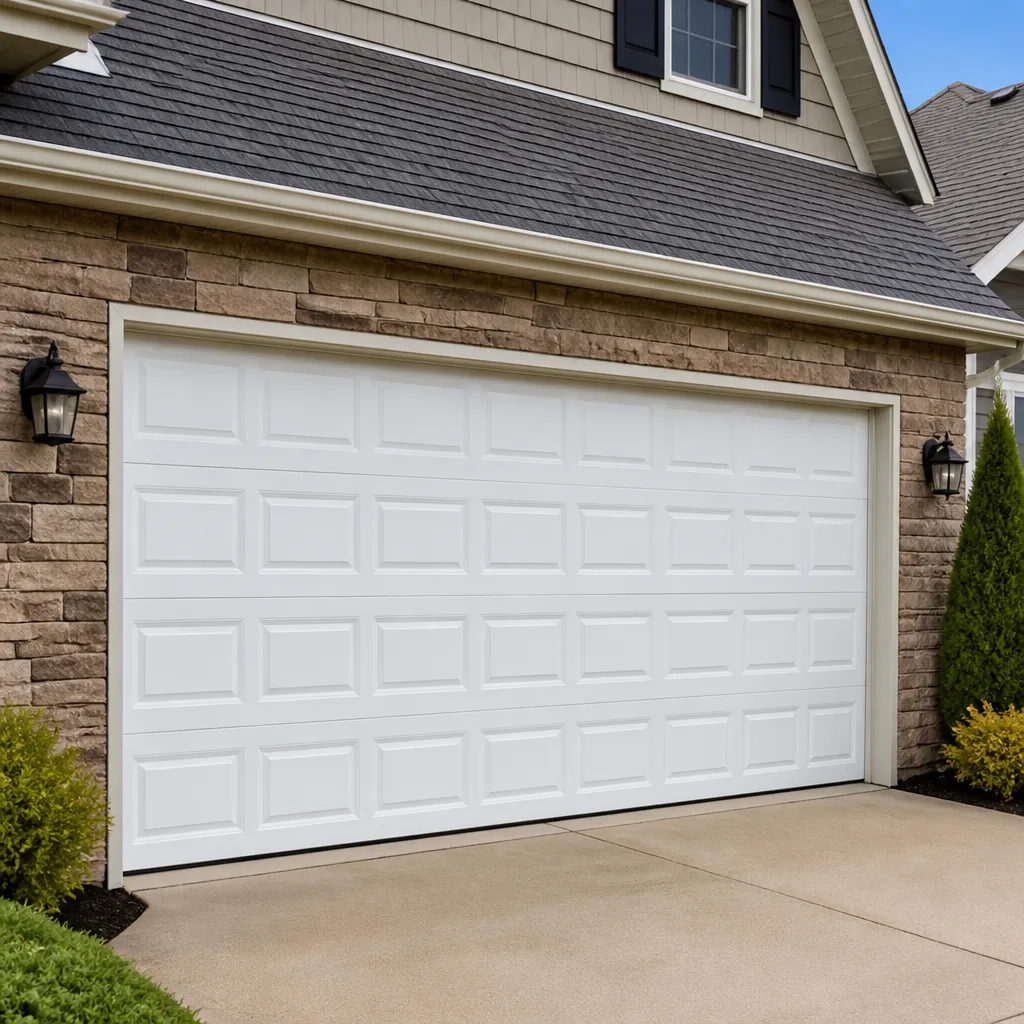 Raised-panel steel
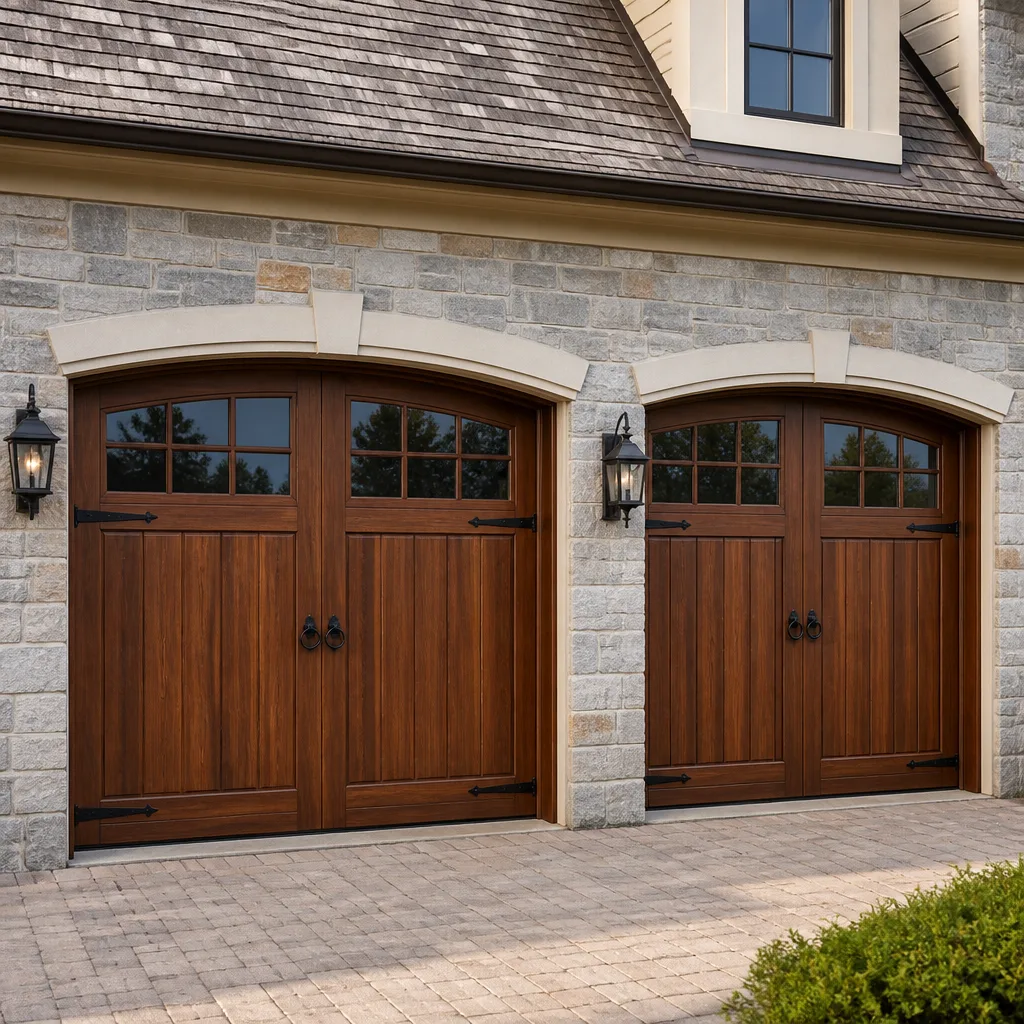 Carriage house
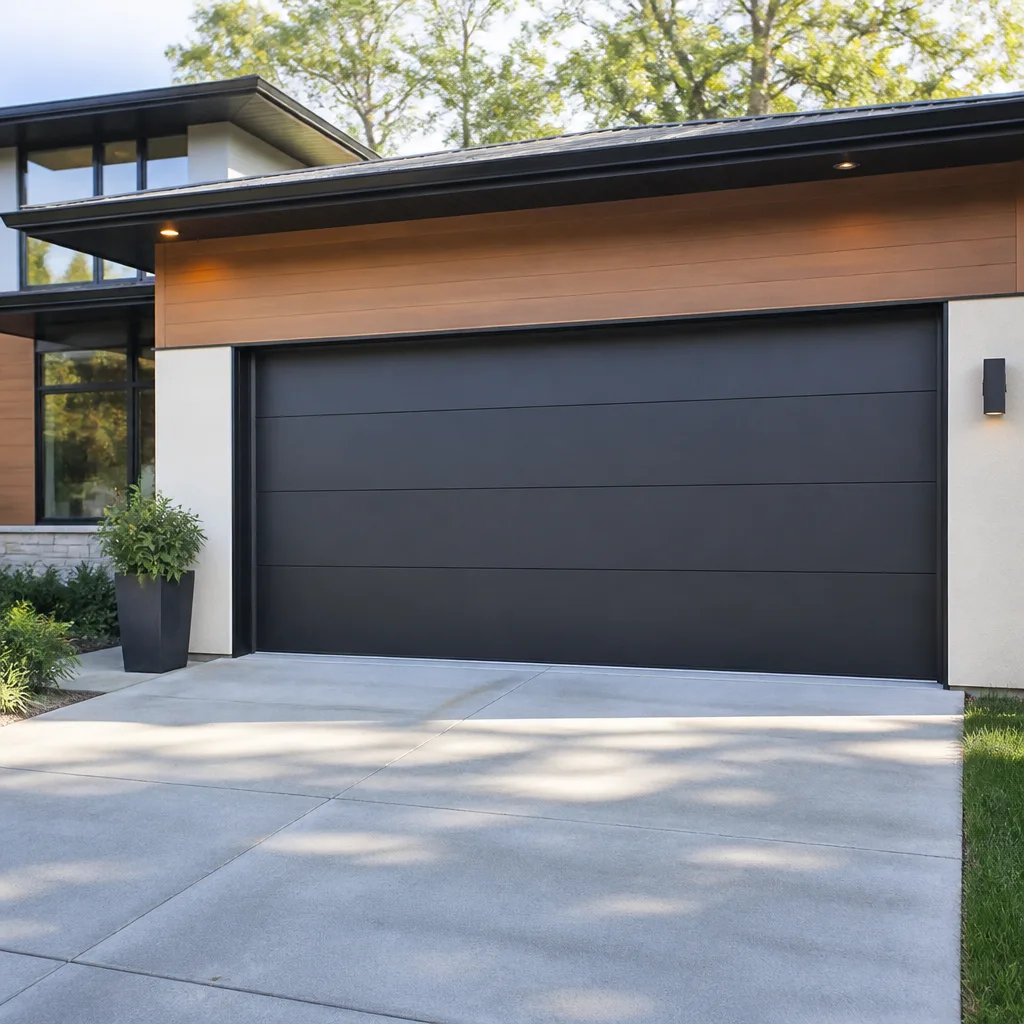 Modern flush
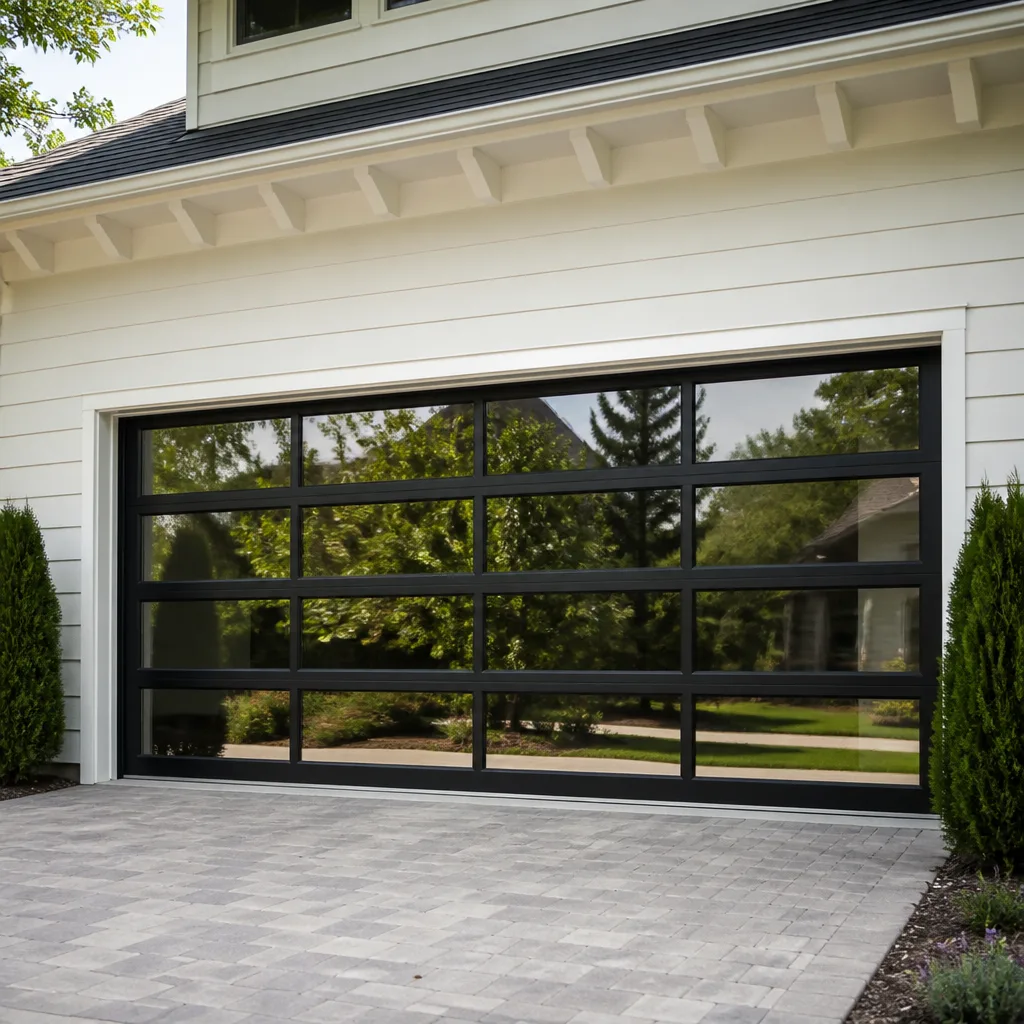 Full-view glass
 LiftMaster openers
 Chamberlain openers
Full 25-point door and opener safety check with every visit - springs, cables, rollers, tracks, and your LiftMaster or Chamberlain opener included
You get a price before we start. It does not change when the truck arrives.
Get your free estimateGarage Door Repair Troubleshooting: Common Problems and How to Fix Them
We get calls every week from Eastvale homeowners who’ve spent an hour on YouTube, watched three tutorials, and tried two fixes that didn’t work. The problem isn’t effort. It’s that garage doors hide their real failures behind misleading symptoms. That grinding noise? It’s not the opener motor. The door that reverses before touching the ground? It’s almost never the safety sensors, even though sensor cleaning is the first thing every video tells you to check. This guide walks through the full chain of cause and effect so you can stop guessing and start identifying the actual problem. By the end, you’ll know when a repair is simple, when it’s dangerous, and when it’s time to call a technician who works on your specific brand every day.
Quick Answer
The quickest way to troubleshoot a broken garage door is to first identify the symptom (won’t open, won’t close, noisy, slow, reverses, or moves partially), then determine whether the problem sits in the opener motor or in the door’s mechanical system. You can separate the two by pulling the manual release cord and running the door by hand. If the door moves smoothly by hand, the opener is the likely culprit. If the door is heavy, stuck, or unbalanced by hand, the issue is springs, cables, rollers, or tracks. From there, visual checks and opener blink codes narrow down the specific failed part.
Styles & brands we work with
- Raised-panel steel
- Carriage house
- Modern flush
- Full-view glass
- LiftMaster openers
- Chamberlain openers
Table of Contents
- Symptom-to-Root-Cause Diagnostic Map
- How to Distinguish Opener Motor Issues from Mechanical Issues
- Reading LED Blink Codes on LiftMaster, Chamberlain, Genie, and Craftsman Openers
- Checking Spring Tension and Cable Seating Visually Without Touching Live Hardware
- When One Symptom Signals Multiple Simultaneous Failures
- Why Your Door Is Noisy and What Each Sound Tells You
- Why Your Door Reverses Before Hitting the Ground
- Why Your Door Moves Slowly and Where the Drag Actually Comes From
- Common Mistakes to Avoid
- When to Call a Professional
- Frequently Asked Questions
Symptom-to-Root-Cause Diagnostic Map
Most Eastvale homes have either a sectional steel door on a LiftMaster or Chamberlain opener, or an older system built around a Genie or Craftsman drive. The six symptoms below cover roughly ninety percent of what we see across those systems. The key is to match the symptom to the most probable root cause, then verify before replacing anything. A wrong diagnosis costs more than a service call.
Won’t Open at All
- Opener has power, but motor hums and nothing moves: The drive gear inside the opener may be stripped, or the door is bound in its tracks.
- Opener runs, trolley moves, door doesn’t lift: The emergency release cord has likely been pulled, disconnecting the trolley from the door.
- No power, no response from remote or wall button: Check the GFCI outlet in the garage. Eastvale homes built in the last two decades often have the opener on a shared GFCI circuit that trips during rain or power flickers.
- Remote doesn’t work but wall button does: This is a transmitter, receiver, or battery issue, not a door issue.
Won’t Close
- Door reverses or refuses to move down: The safety sensors may be misaligned, but more often a failing spring or a sticking limit switch is behind it.
- Door closes partway then reverses: This is usually a force-setting issue in the opener, which is commonly triggered by worn rollers or a deteriorating torsion spring.
- Wall button works but remote won’t close: Photo-eye obstruction or radio interference. Some Eastvale homes near the 15 freeway report intermittent remote signal issues from nearby RF traffic.
Noisy Operation
- Grinding or chattering during travel: Rollers wearing out, or the opener’s drive gear shedding teeth.
- Deep rattling from the torsion tube: The spring is binding or losing tension.
- Squeaking that worsens over time: Hinges and rollers running dry. Eastvale’s dry summers accelerate lubrication breakdown.
Slow Movement
- Door moves noticeably slower than it did six months ago: Springs are losing tension, not the opener motor wearing out. Springs carry the door’s weight. As they fatigue, the opener works harder and moves slower.
- Slow even when disconnected from the opener: Rollers or hinges binding, or the door is out of balance.
Reverses Before Reaching the Floor
- Consistent reversal at the same spot: Sensor alignment is only one possibility. More common on older doors is a closing-force setting that’s been pushed out of adjustment by a worn spring.
- Reversal after touching the floor, then reopening a few inches: The close-limit is set too low, causing the opener to think it hit an obstruction.
Partial Movement
- Door rises a foot or two and stops: A broken balance spring on one side, or a cable that has jumped the drum. This is a load-imbalance shutdown built into newer LiftMaster and Chamberlain openers.
- One side rises higher than the other: A snapped or stretched cable, or a broken spring on one side. This condition should stop you from running the opener again until it’s inspected.
If you’re reading through these and still unsure, the Garage Door Repair in Eastvale page covers our diagnostic approach in more detail. We work on the brand you already have.
How to Distinguish Opener Motor Issues from Mechanical Issues
This is the single most useful diagnostic step for a homeowner, and most troubleshooting guides skip it entirely. Every automatic garage door has a manual release cord, usually hanging from the trolley rail above the car. Pulling it disconnects the door from the opener’s trolley, so you can run the door by hand.
- Close the door fully before you begin. If the door is stuck open and the spring is broken, do not attempt this. A door with a broken spring will fall under its own weight and can cause serious injury.
- Pull the emergency release cord. You’ll hear a click, and the trolley will separate from the carriage on the door arm.
- Lift the door by hand using the handle or bottom rail. It should move smoothly with moderate effort. A properly balanced door stays where you leave it at any point in its travel.
- Move the door up and down two or three times. Note whether it binds, catches, feels unusually heavy, or wants to slam shut.
What the test tells you:
- Door moves easily and stays in place: The mechanical system is fine. Your problem is in the opener: the motor, drive gear, logic board, or limit settings.
- Door is heavy or falls: The torsion or extension springs have lost tension. This is a mechanical problem, and the opener was likely working harder than it should have been for months.
- Door binds at a specific point: Look for a bent track section, a loose bracket, or a roller that’s seized. Eastvale’s clay-heavy soil can shift garage slabs slightly over time, which occasionally throws a track out of plumb.
We run this exact test on every service call that isn’t an obvious spring failure. It separates the two big systems and stops a homeowner from buying a new opener when a rusty roller was the actual culprit. Repair or replace, we’ll tell you which one actually makes sense.
Reading LED Blink Codes on LiftMaster, Chamberlain, Genie, and Craftsman Openers
Modern openers talk through their LED lights. The little round light next to the learn button, or the main light unit, flashes in specific sequences that correspond to stored diagnostic codes. You don’t need a handyman to decode these. You need to know where to look.
LiftMaster and Chamberlain (Including myQ Models)
These two brands share a diagnostic platform. The up arrow blinks a number of times, then the down arrow blinks a number of times, and the sequence gives you a two-digit code. But the most useful ones come as single LED flashes on the main light:
- 1 flash: Photo-eye sensors are misaligned, obstructed, or shorted.
- 2 flashes: Photo-eye wire reversal or short.
- 4 flashes: Photo-eye sensors are slightly misaligned.
- 5 flashes: Motor overheated. Often preceded by a slowly moving door.
- 10 flashes: Door won’t close because sensors are blocked.
Genie
Genie openers use a round LED near a small diagnostic button. The blink pattern corresponds to a fault code in the manual. The three most common we see on Eastvale service calls are:
- Red LED, 2 blinks: Safety sensor fault.
- Red LED, 3 blinks: Motor over-current. This usually means a mechanical bind.
- Green LED, solid with no response: Logic board failure, which on a 15-year-old Genie usually points toward replacement of the opener rather than a board swap.
Craftsman
Craftsman openers from the 1990s through the early 2000s were built on the Chamberlain platform, so many of the codes match. The newer Craftsman openers carry the same LED diagnostics as their Chamberlain equivalents. If the opener responds to no commands and the LED is dark, the logic board or receiver has failed.
Reading these codes before you call saves a service fee for things you can often resolve yourself, like realigning a photo eye. If the code points to a motor or force fault, get a pro involved. Your Craftsman or LiftMaster system is one we know well. We cover opener-specific diagnostics on our Garage Door Opener Repair in Eastvale page.
Checking Spring Tension and Cable Seating Visually Without Touching Live Hardware
Springs and cables are under hundreds of pounds of tension. We never suggest anyone adjust them by hand. But you can visually inspect both systems safely from the floor by knowing what a healthy setup looks like.
Torsion Springs (Horizontal Tube Above the Door)
- Look for a visible gap in the spring coil. A broken torsion spring often splits cleanly into two pieces, and you’ll see a gap of several inches where the coil used to be continuous.
- Check if the spring sits evenly along the bar. If one side is compressed and the other is loose, the spring is no longer holding proper tension.
- Look for rust and flaking at the coil edges. Eastvale’s dry climate slows rust compared to coastal cities, but older springs still fatigue. At the first sign of deep pitting, plan for a replacement.
Extension Springs (Above the Horizontal Tracks)
- Count the springs on each side. There should be one or two on each side, and they should look identical in length and stretch. If one side has a broken spring, it will be clearly separated.
- Check the safety cables. Building code requires a cable running through the center of each extension spring. If that internal cable is missing or broken, the spring can become a projectile if it snaps. Call a technician.
Cables
- Look at the drums above each end of the door. The cable should wrap evenly in the drum’s groove. If the cable is crossed over itself, frayed, or riding up the drum edge, the door is misbalanced.
- Check cable tension. When the door is closed, each cable should have no slack. A loose cable on one side is the first sign that a spring has failed or a drum has slipped.
If you notice any of these conditions, stop using the opener. The door may still run, but running a misbalanced door under motor power compounds the damage to rollers, hinges, and the opener’s drive system. Call for a spring inspection rather than waiting for the snap.
When One Symptom Signals Multiple Simultaneous Failures
Here’s a scenario we see regularly in Eastvale: a homeowner calls about a noisy door. The tech arrives, replaces a worn roller, quiets the noise, and leaves. Two weeks later, the door won’t open. The homeowner is frustrated, and understandably so. The replacement roller was fine. The problem is that the noise was actually two problems stacked on top of each other: a bad roller plus a tired spring. Treating the roller alone left the spring to fail on its own schedule.
Garage door failures rarely happen in isolation. A door is a load-bearing system where every component shares the work. When one component degrades, it shifts load onto others, and they degrade faster. Common multi-failure patterns:
- Noisy door + slow movement: Usually worn rollers AND a fatigued spring. The rollers create friction, the spring loses tension, and together they stress the opener’s drive gear.
- Door reverses + one side sags: A stretched cable AND a slipping drum. Fixing the cable without addressing the drum will reproduce the failure within weeks.
- Opener hums + remote doesn’t work: Two separate failures that happen to coincide: a stripped drive gear and a dead receiver board. The opener is telling you two different things at once.
- Door slams shut + opener won’t respond: A snapped spring AND a force-limit setting triggered by the sudden imbalance. The opener may just need a reset after the spring is replaced, but if you reset the opener before fixing the spring, you’ve done nothing.
The throughline is this: fix the underlying cause, not the most visible symptom. That’s why our diagnostic process looks at the whole door before recommending any single part. One call covers the door and the opener.
Why Your Door Is Noisy and What Each Sound Tells You
Noise is the most common complaint on Eastvale service calls after a door won’t move. And every type of noise corresponds to a specific failing component. Here’s the sound map we run through with homeowners.
- High-pitched squeal on every cycle: Dry metal-on-metal contact. Hinges, rollers, or the torsion spring’s coil rubbing against itself. Fix: lubrication with a garage-door-specific lubricant. Skip the WD-40. It’s a solvent, not a lubricant.
- Metallic grinding that grows louder each week: Worn ball bearings inside the rollers. Once roller bearings fail, the roller itself chews into the track. Fix: roller replacement. We replace rollers in sets, since one bad roller usually means its neighbors are equally worn.
- Chatter or clatter during opener operation: The drive gear inside a LiftMaster or Chamberlain opener is shedding teeth, or a chain drive has gone loose and is slapping the rail. Fix: tension adjustment for chains, gear replacement for worn teeth.
- Popping from the torsion tube: The spring is binding as it winds. This precedes a full spring failure. Fix: spring inspection and likely replacement.
- Rattling from the horizontal tracks: Loose track brackets or rollers that are badly worn causing the door to shake as it moves.
Eastvale’s temperature swings between summer afternoons and winter mornings expand and contract the metal components. What starts as a minor squeak in July can become a full roller failure by December. Noise is an early warning system. Use it.
Why Your Door Reverses Before Hitting the Ground
This is the symptom that generates the most wasted DIY hours. The common advice, clean the sensors, works in maybe a quarter of the cases we see. The other three-quarters involve the opener’s force settings, the spring, or the limit switch.
The sensor answer: If the photo-eye sensors are caked in dirt, misaligned, or being hit by direct morning sunlight (a real issue for Eastvale homes with east-facing garages), the opener treats them as blocked and reverses. Clean the lenses, check the small LED lights on each sensor. Both should be lit, one green and one amber.
The spring answer: A weakening torsion spring changes how much force the opener needs to close the door. The opener’s close-force setting was originally calibrated for a balanced door. As the spring loses tension, the door feels heavier, and the opener reads the added resistance as an obstruction. It reverses. This is why a door that worked perfectly for eight years suddenly starts reversing at the same spot: the spring has reached the point where it can no longer support the door’s weight.
The limit answer: The close-limit tells the opener when the door has reached the floor. If that limit drifts (common on older Genie and Craftsman openers), the opener closes the door, feels the floor, interprets it as an obstruction, and reverses. Adjusting the limit takes five minutes and costs nothing.
The real question is whether the spring is doing its job. Run the manual disconnect test from earlier in this guide. If the door feels heavy by hand, the spring is the problem, not the sensors. If it feels balanced, check the limit and the sensors. This order of operations saves you from cleaning lenses that weren’t dirty.
Why Your Door Moves Slowly and Where the Drag Actually Comes From
A door that crawls upward is almost always a spring problem, not a motor problem. The opener motor on a LiftMaster, Chamberlain, or Genie is engineered to move a door that’s mostly balanced by its springs. The motor contributes a fraction of the lifting force. When springs fatigue, the door’s effective weight increases, and the motor moves it slower while drawing more current and running hotter.
Other causes of a slow door:
- Worn rollers with flat spots: Instead of rolling, the roller slides along the track, creating extra friction at every point of contact.
- Lack of lubrication on the torsion spring and hinges: Metal-on-metal friction multiplies the effort required to move the door.
- Bent track section: A single bend creates a pinch point in the travel. The door slows at that section and then needs extra force to push through.
- Opener drive belt or chain slipping: A loose chain or a worn belt sprocket will slip under load, causing the door to jerk and move unevenly.
Speed loss is gradual. Most homeowners don’t notice until a neighbor points it out or they count the seconds one day. When you do notice, run the disconnect test. If the door moves easily by hand but slowly under power, the opener’s drive system is the issue. If the door is heavy by hand, the springs are done. We carry brand-appropriate replacement parts for every opener we service, so the fix matches the system rather than forcing an upgrade.
Common Mistakes to Avoid
- Replacing the opener before checking the door. A new opener on a door with a failed spring is a waste of money. The new opener will struggle, overheat, and fail early. Diagnose the mechanical system first.
- Using the wrong lubricant. WD-40 strips away grease and dries out hinges and springs. Use a silicone or lithium-based lubricant made for garage doors.
- Adjusting spring tension without the right tools. Torsion springs are under enough stored energy to cause serious injury or death. This is not a home repair. Leave spring work to a technician with proper winding bars and experience.
- Ignoring a single frayed cable. A frayed cable on one side often means the door is already misbalanced. Waiting for the snap means waiting for the door to slam down.
- Resetting the opener’s force limits to compensate for a heavier door. You can turn up the force on many openers to make a weak spring work, but this masks the spring failure and accelerates wear on every other component.
- Cleaning sensors when the door is already balancing poorly. If the door fails the manual disconnect test, sensor cleaning is a detour, not a fix.
- Running the door repeatedly after a break. If a spring snaps or a cable jumps, every additional cycle damages hinges, rollers, and the opener. Stop using the door and call a technician.
When to Call a Professional
Some garage door problems are genuinely simple and safe to address: a photo-eye realignment, a dead remote battery, a limit switch adjustment. But any issue involving the springs, the cables, or the torsion system is not a home repair. If your door fails the manual disconnect test, feels heavy, slams shut, or has a visible gap in a spring coil, stop using it. Garage Door Service Eastvale offers free estimates in Eastvale. Call (833) 593-6405. If your door needs replacement rather than repair, we’ll walk you through Garage Door Installation options without pushing an upgrade you don’t need.
Frequently Asked Questions
A door that reverses after touching the floor almost always has a close-limit setting that’s drifted too low, making the opener read the floor as an obstruction. On older Genie and Craftsman openers, this limit drifts over time. Adjust the limit a quarter-turn at a time, or run the manual disconnect test first to rule out a failing spring making the door land hard. Call (833) 593-6405 and we’ll talk you through it.
Most Eastvale service calls run between $95 and $180 for a diagnostic visit with repair work quoted before it starts. Common repairs like roller replacement or limit adjustment stay under $250, while torsion spring replacement typically runs $280 to $450 installed depending on the spring size and door weight. The price is always quoted and agreed before any work begins. Call (833) 593-6405 for an exact quote. Estimates are free.
The remote and the wall button send signals through different channels, so a remote failure while the wall button works points to the remote’s battery, the remote’s programming, or the opener’s receiver board. Replace the remote battery first, then re-pair it using the learn button on the opener. If it still won’t take, the receiver on a LiftMaster or Chamberlain logic board may have failed.
No. Garage door springs are under enough tension to cause serious injury or death. Torsion springs require specialized winding bars and a specific winding sequence, and extension springs require safety cables that most homeowners don’t have. This is a job for a trained technician. Call (833) 593-6405 and we’ll handle it safely.
Intermittent sticking is usually temperature-related. Eastvale’s hot afternoons cause metal tracks and rollers to expand, and a door that’s already near a bind will stick only on the hottest days. Cooler mornings mask the problem. If the door binds at a specific point, look for a bent track or a seized roller. If it’s random, run the disconnect test and feel for resistance by hand.
Standard torsion springs are rated for about 10,000 cycles, which translates to 7 to 10 years for most Eastvale homeowners who use their door twice a day. Extension springs last closer to 5 to 7 years. If your springs are older than seven years and the door is starting to feel heavy or slow, budget for replacement before the snap.
We work on LiftMaster, Chamberlain, Genie, Clopay, and the other major residential brands found in Eastvale homes. Your system is one we know well. Whether it’s a legacy Craftsman chain drive or a newer myQ-enabled LiftMaster, the diagnostic process is the same: identify the real root cause, then fix it with brand-appropriate parts. See our full list on the Garage Door Service Eastvale home page.
The Bottom Line
The fastest path to a working garage door is reading the symptom correctly, separating the door from the opener, and fixing the root cause rather than the visible effect. Most doors that reverse aren’t sensor problems. Most slow doors aren’t motor problems. And most multi-part failures start with a tired spring that was left in service too long. If you’re in Eastvale and want a diagnosis that skips the guesswork, call (833) 593-6405. We’ll tell you what’s actually wrong and quote the fix before anything gets touched.
Written by the team at Garage Door Service Eastvale, serving Eastvale since 2012.
See the difference
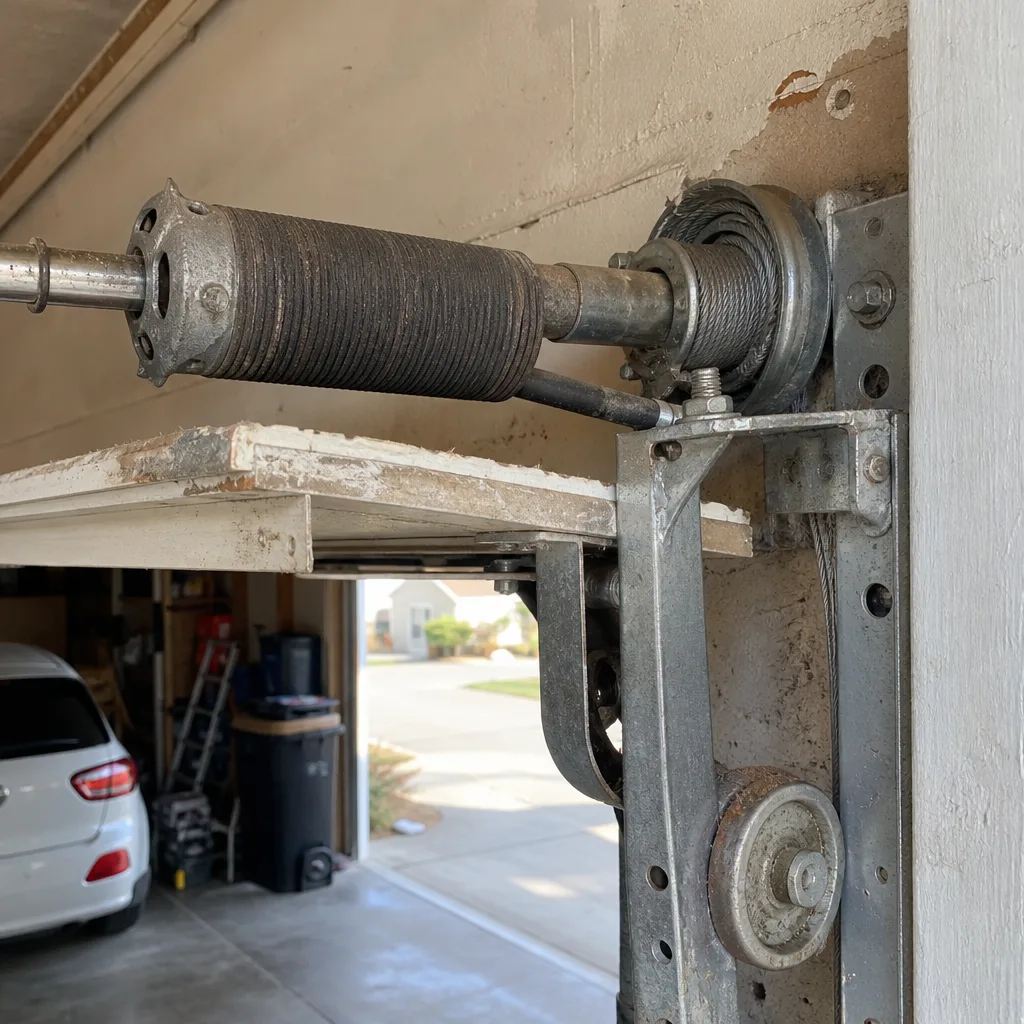 Before
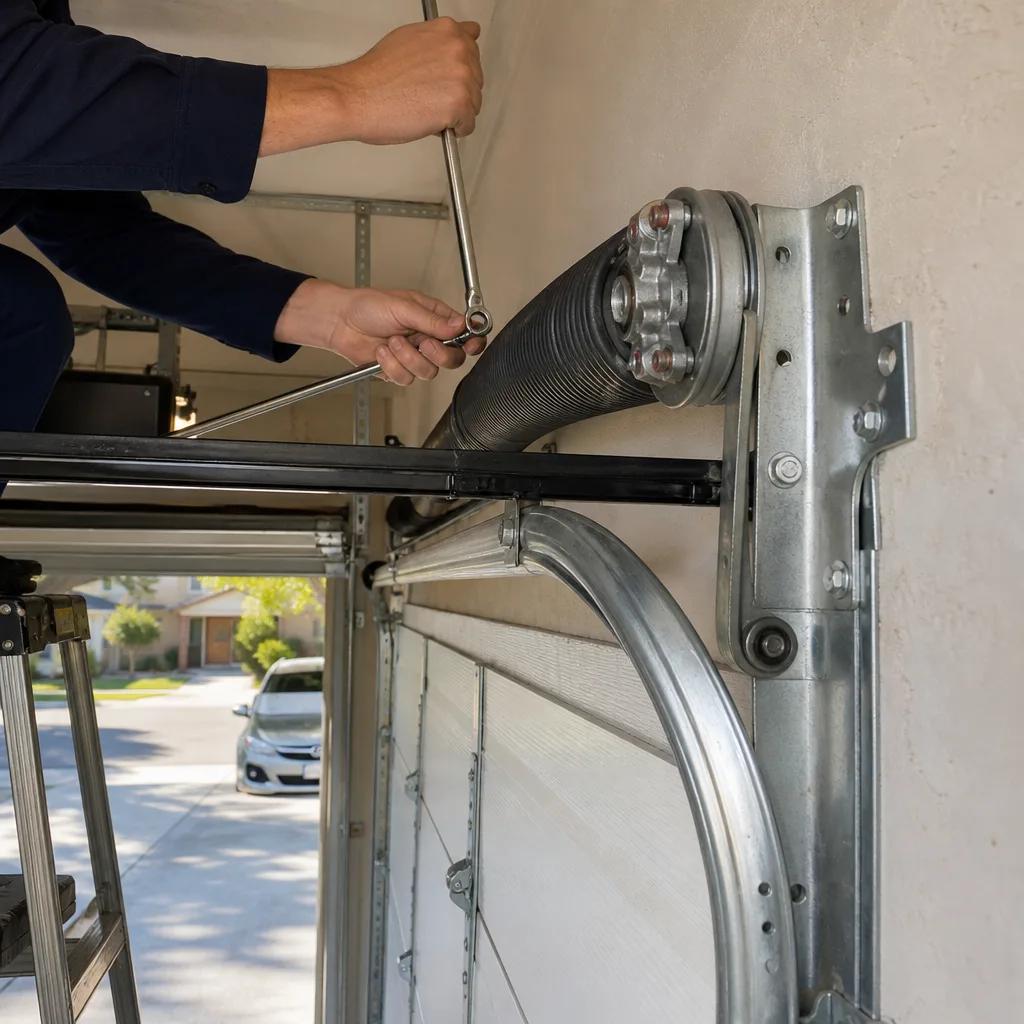 After
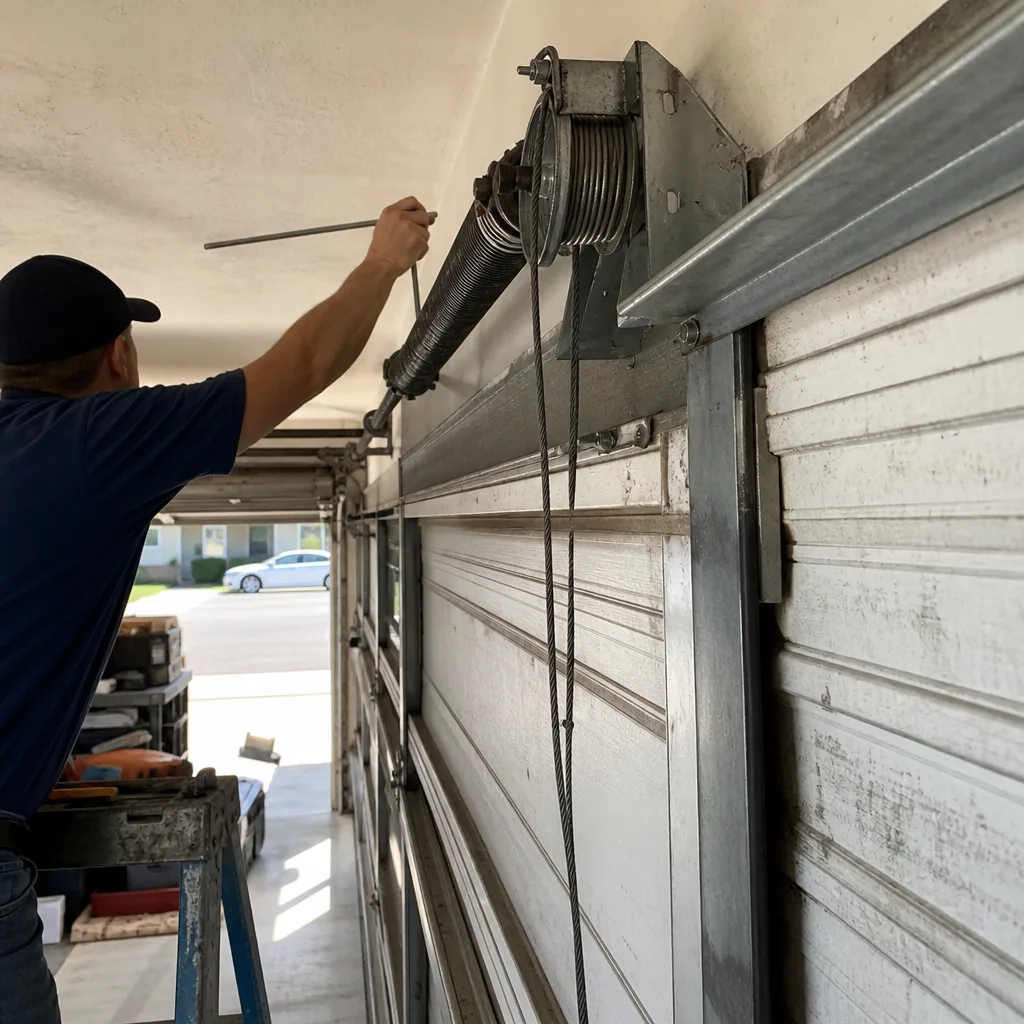 Before
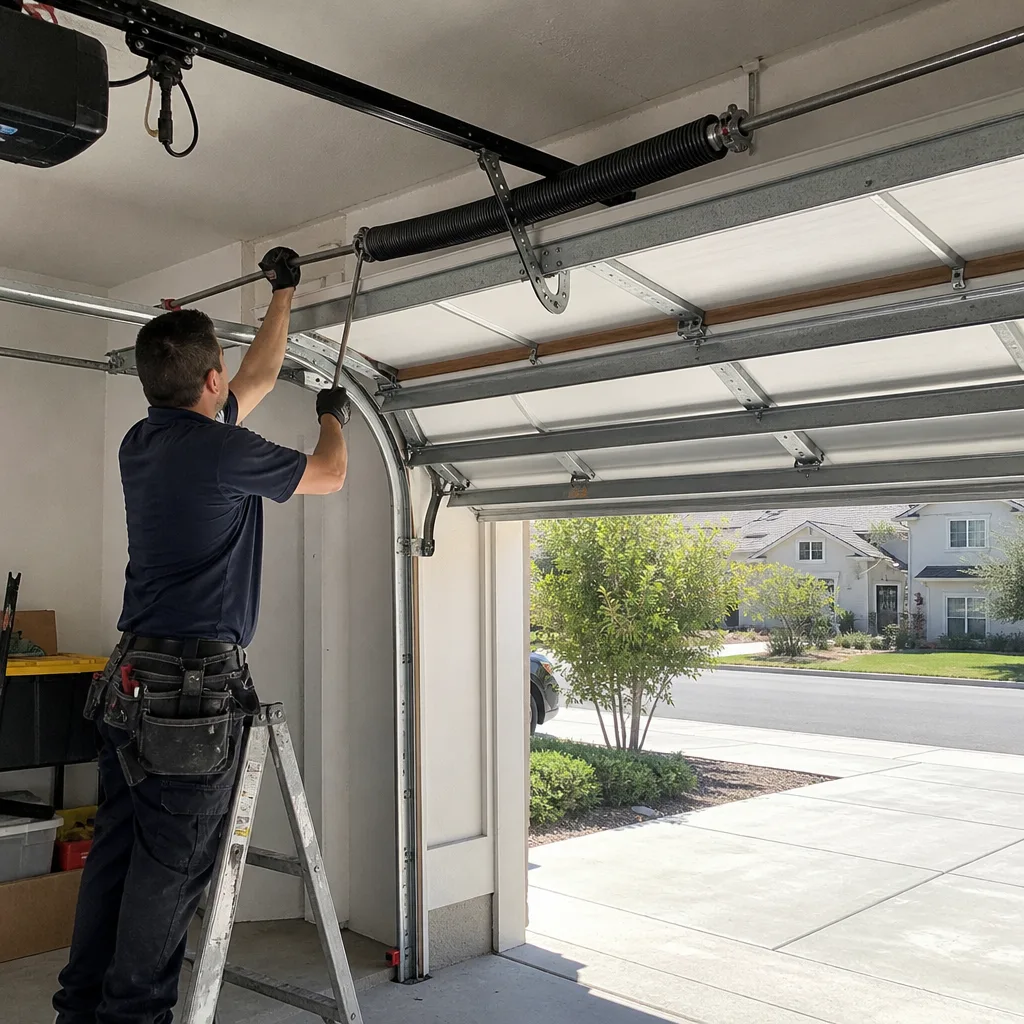 After
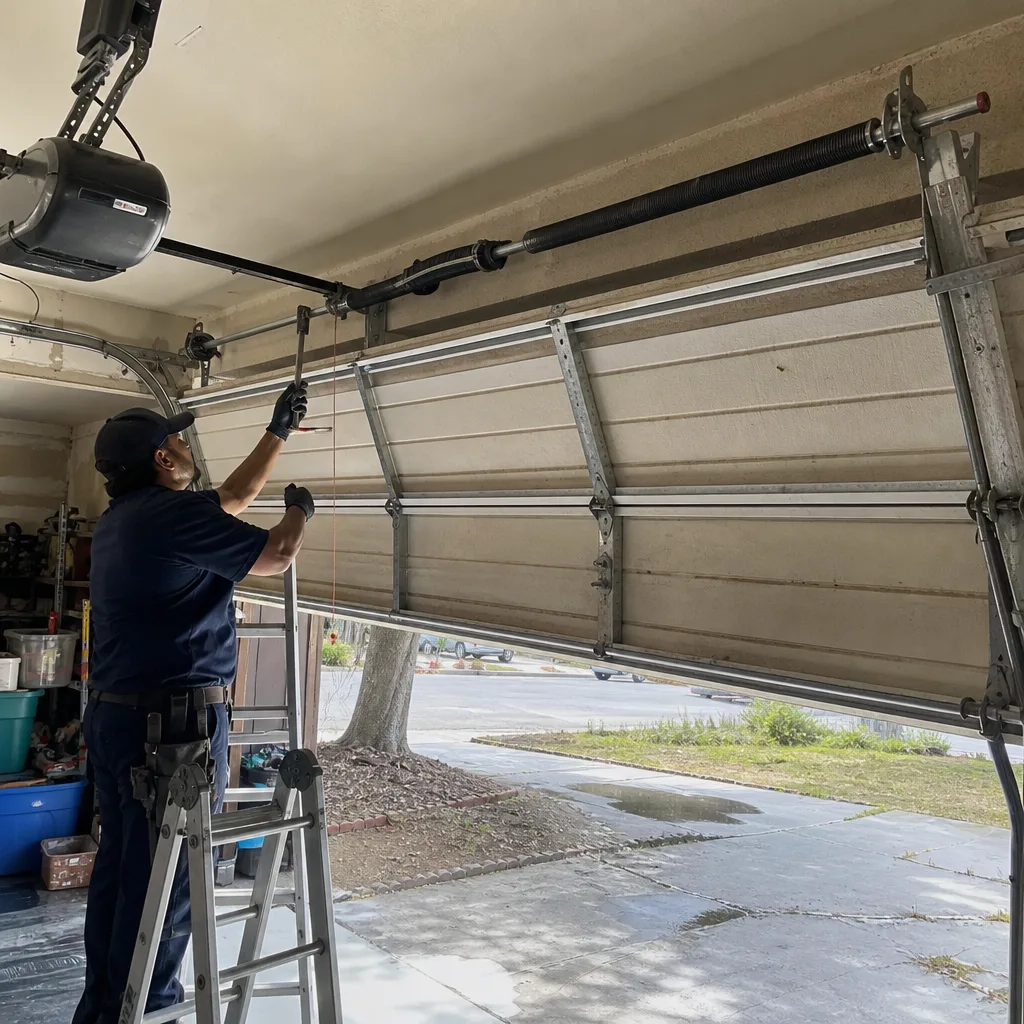 Before
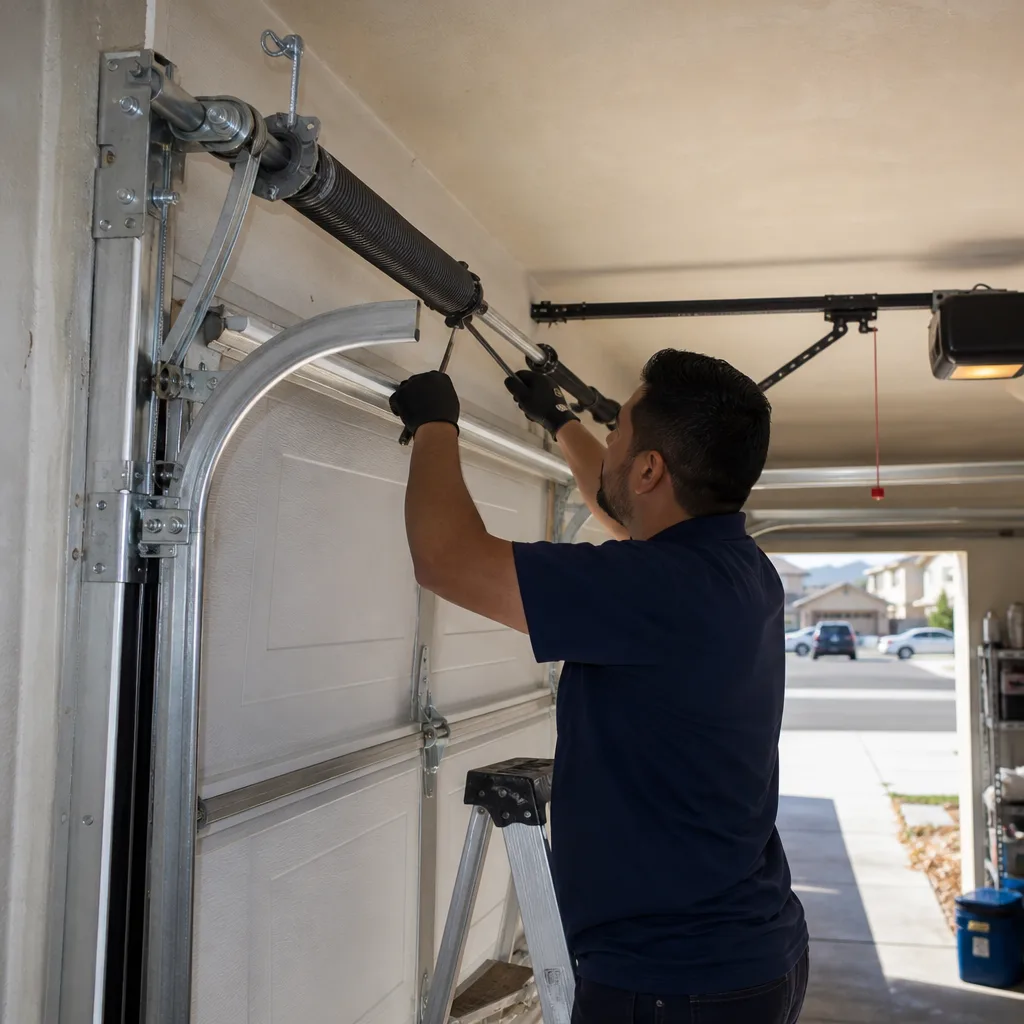 After